
The Brickwork Behind the Render
Twelve square metres of insulating render on one elevation. Opening up showed the facing brick in front of the lintel was carrying nothing.
A commercial property in south London with cement render over solid masonry on one elevation. The render was the problem rather than the symptom: a hard, closed coat on a wall built to breathe, holding moisture in the masonry behind it and shedding at the surface.
What Was Specified
The actual wall area is 12 square metres, at a total build of about 10mm.
- Hack off the hard cement render and strong bonding layers to restore a breathable substrate
- Tector Base Render to around 10mm total build, in passes
- Tector Finish Render as the top coat
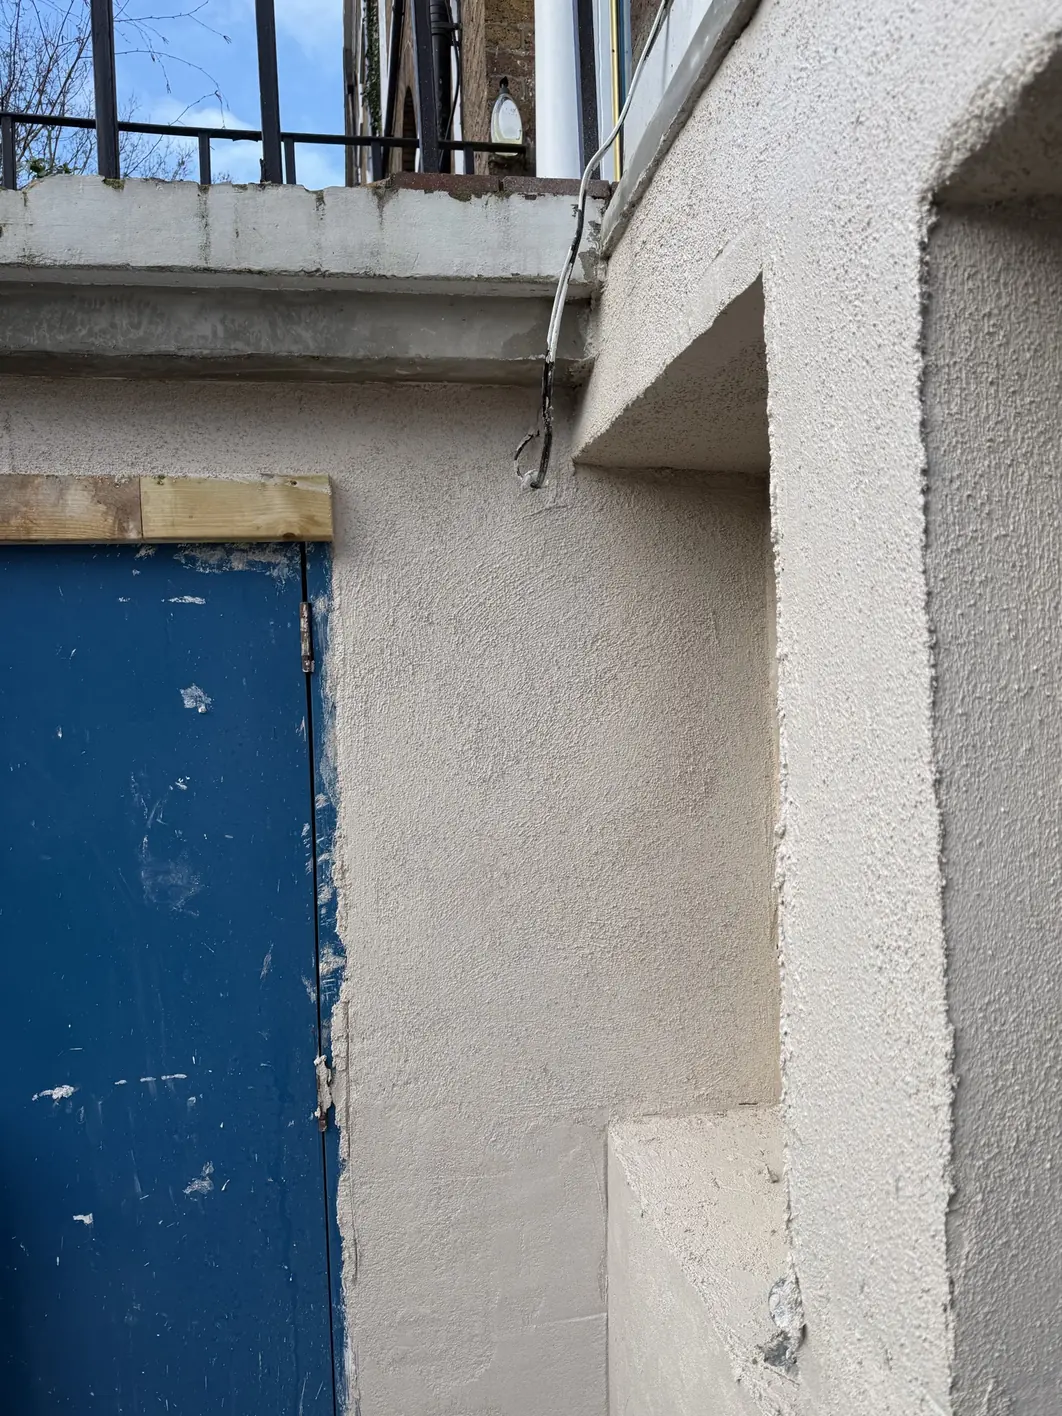
- Full edge detailing: APU window reveal beads, 60mm aluminium base track, UPVC corner beads with mesh, 10mm render depth guides
The beads and depth guides are not decoration. They are how a 10mm build stays a 10mm build across a whole elevation, and how a reveal comes out square rather than approximately square.
What We Did Not Expect
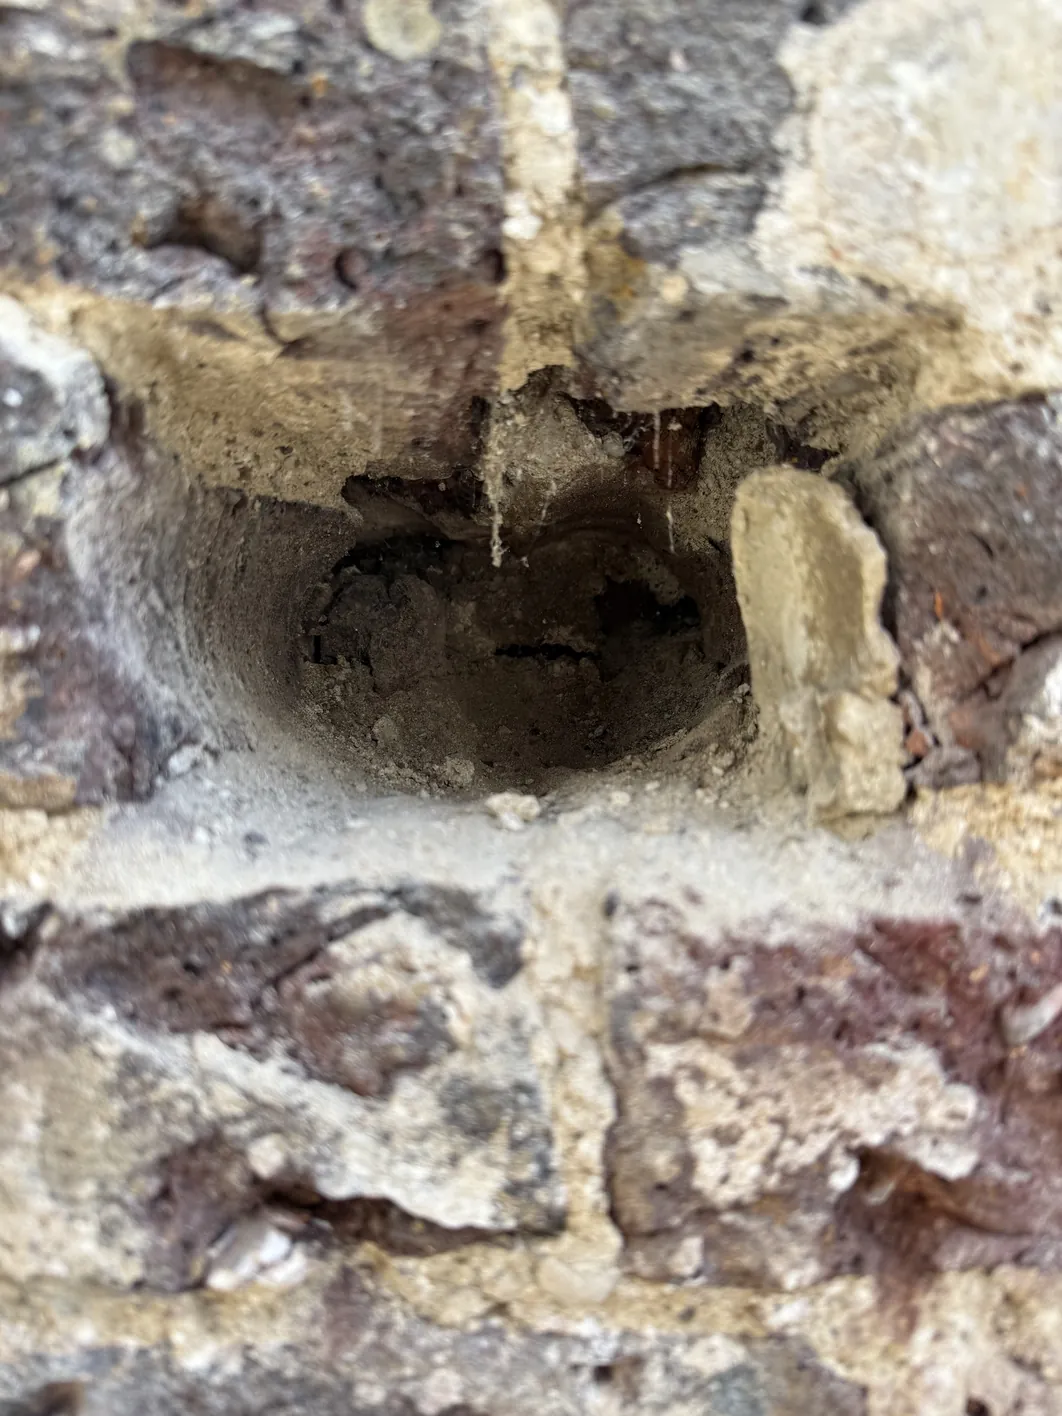
Once the cement was off, the brickwork became the critical path.
Both the window lintel and the door lintel were present and sound. The problem was in front of them: the outer three courses of facing brick across the lintel line were not properly supported. They were being carried by the render, and we had just removed the render.
- Rebuilt the first two courses of loose facing brick and carried them on mechanical brackets, so the facing skin is supported by something structural rather than by its own finish
- At the third course, in the window zone, installed insulation rather than rebuilding unsupported brick. That keeps the build-up breathable and takes future movement out of the place most likely to crack
- Defined the window geometry with wood wool boards to create clean planes and edges, rather than freehanding the shape in render
That last point is a small decision with a long tail. A reveal shaped by hand in wet render is only as straight as the day it was formed. A reveal built to a board is straight permanently, and the render is doing one job instead of two.
The Gates We Would Not Pass
We did not start the render until four things were true, and this was written down rather than assumed:
- Lintels installed and inspected
- Masonry stable and not shedding
- All beads and profiles on site
- A weather window acceptable for external work
A render applied over unstable masonry will look correct on handover and fail within a season or two, and by then nobody can tell whether the render or the wall was at fault. Holding the start date is cheaper than that argument.
The Outcome
Twelve square metres of breathable render on a substrate that is now structurally sound, with the facing brickwork carried properly and the window geometry built to a board.
Related
Posts from real projects, and articles on the things clients actually ask about. Written by the people doing the work. Longer, referenced technical papers live under white papers. The assemblies themselves are on the build-ups page.