
Lime Plastering in London
Breathable lime and clay plastering for solid-wall and period properties, from a workshop in Hackney Wick.
Lime plaster is not a heritage affectation. On a building constructed without a cavity or a damp-proof course, it is the finish that allows the wall to do the one thing it was designed to do: absorb moisture and release it again. This page explains what that means in practice, how the work is sequenced, and how long it takes to dry.
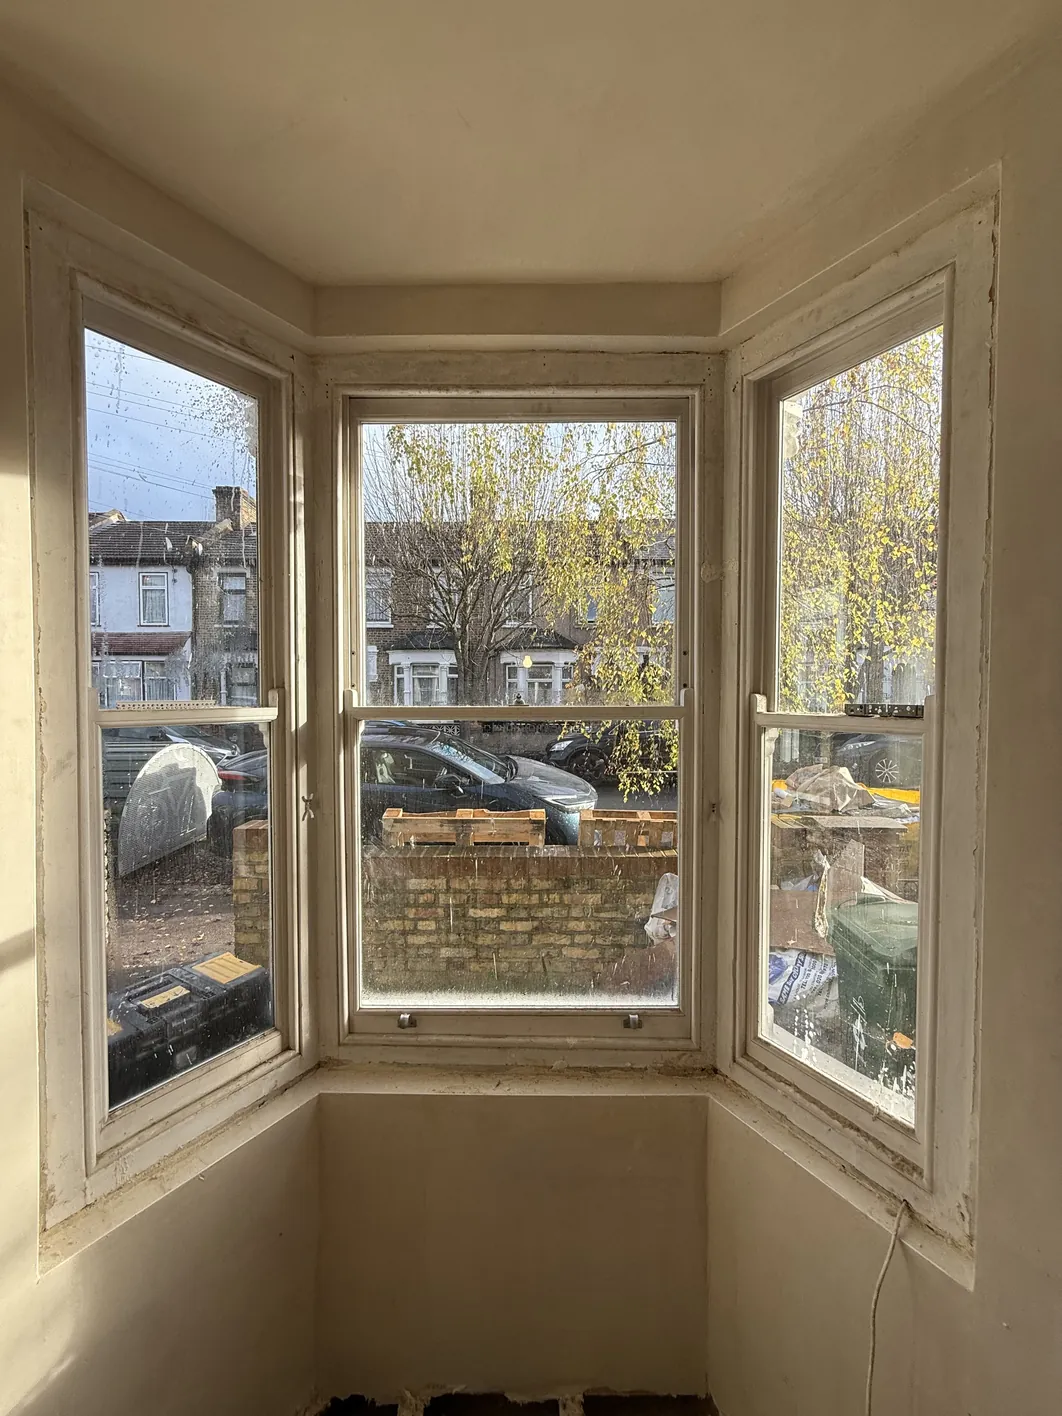
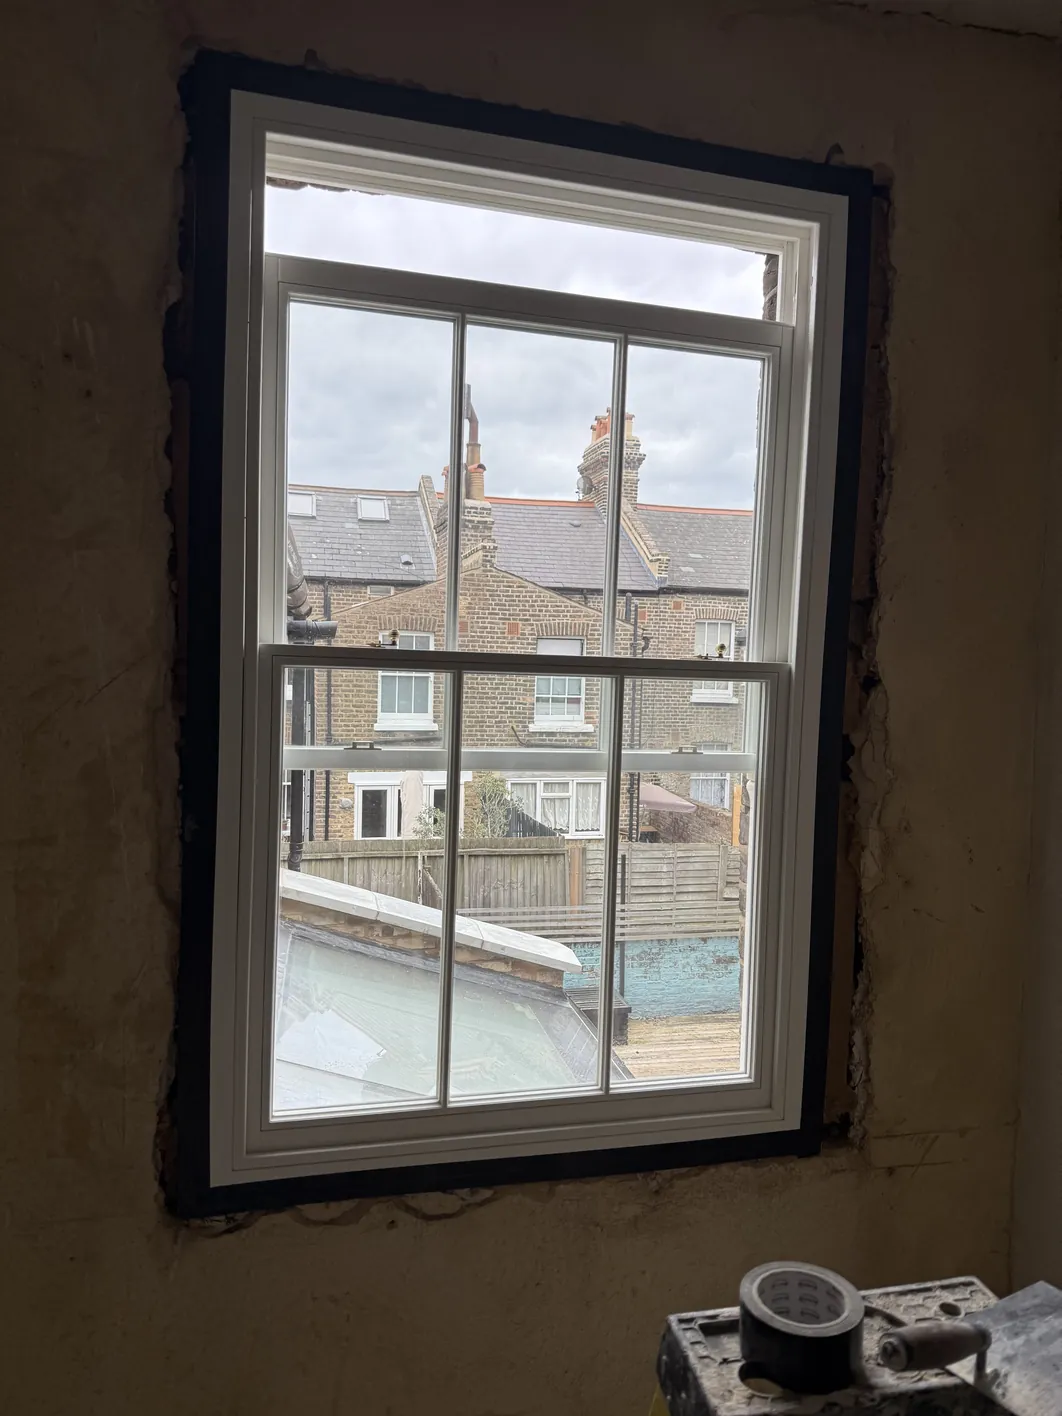
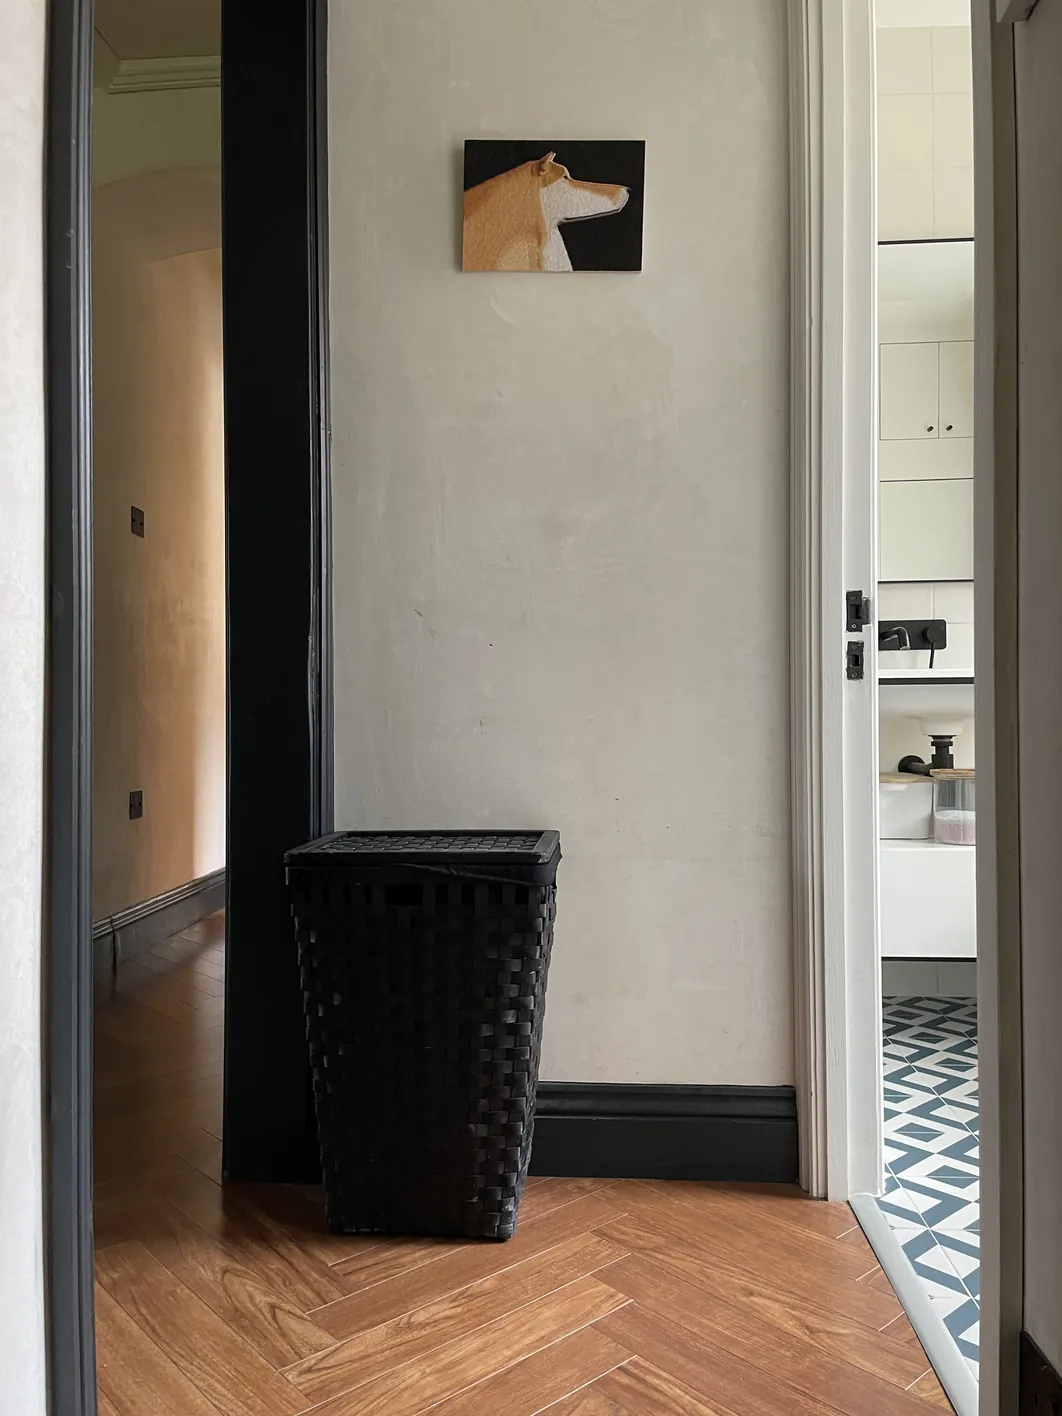
Three photographs from recent lime plastering jobs, at different points in the work.
Overview
Over a third of the UK's building stock predates 1919. Those buildings were built from solid masonry bedded in lime mortar, with no cavity and no membrane separating the wall from the ground or the weather. They were never watertight in the modern sense. They were designed to get damp and then dry out again, cyclically, through the full thickness of the wall and out through a permeable internal finish.
Gypsum plaster and modern paints interrupt that cycle. Moisture still enters the wall, because nothing about a solid wall has changed, but it can no longer leave at the same rate. It accumulates behind the finish, and it takes salts with it. The symptoms follow a familiar pattern: blown plaster at skirting level, tide marks, flaking paint, and a persistent smell that redecorating never fixes.
Lime plaster restores the exit route. It is vapour open, it buffers humidity rather than resisting it, and it tolerates the small seasonal movements that masonry makes. It also happens to look considerably better under raking light than a skim coat, though that is not the reason to specify it.
Why Lime, Not Gypsum
The Moisture Argument
The relevant property is vapour permeability, usually expressed as a vapour resistance factor. Lime plasters sit at the open end of that scale. Gypsum with a modern emulsion or, worse, a vinyl paint sits considerably further towards closed. On a cavity wall with a functioning DPC the difference rarely matters. On a solid wall it decides whether the wall dries inwards or does not dry at all.
Lime also buffers. It takes up moisture from humid indoor air, holds it in its pore structure, and gives it back when the air dries. That flattens the peaks after a shower or a wash, which reduces surface condensation on cold external walls, which in turn is what stops mould appearing in the corners of north-facing rooms.
Where lime plaster is usually the right answer
- Solid brick or stone walls with no cavity
- Buildings with no damp-proof course, or a failed one
- Lath and plaster ceilings and stud partitions being repaired rather than replaced
- Walls behind breathable internal wall insulation
- Listed buildings and properties in conservation areas, where it may be a condition of consent
- Any wall showing salt damage, where a cement or gypsum repair will fail again
The Movement Argument
Solid walls move. They expand and contract with temperature, they take up and shed moisture with the seasons, and old buildings settle in ways that never entirely stop. A rigid, high-strength finish resists that movement until it fails in one place, usually with a long crack or a debonded patch.
Lime is weaker than the masonry it covers, and deliberately so. It accommodates movement across many fine, distributed cracks rather than concentrating it into one significant one. It also has a limited capacity to reseal fine cracking through continued carbonation, a property usually described as autogenous healing. The practical consequence is that a lime finish ages by degrees instead of failing suddenly.
Choosing the Binder
Not all lime is the same, and the choice between a non-hydraulic lime putty and a natural hydraulic lime changes how the plaster sets, how strong it ends up, and how permeable it remains. Over-specification is the common error: reaching for a higher NHL grade because it feels safer, and ending up with a finish harder than the masonry behind it, which reintroduces exactly the problem lime was chosen to avoid.
The short version is that internal plaster on sound, sheltered masonry usually wants the gentlest binder that will set reliably in the conditions available, and that external and exposed work justifies a hydraulic set. The long version, including carbonation chemistry, NHL grades and the hygrothermal consequences of each, is in our technical paper:
Technical reading
Hydraulic vs Non-Hydraulic Lime in Retrofit Projects. Binder chemistry, carbonation versus hydraulic sets, NHL grades, and how to avoid over-specification in historic masonry.
Clay Plaster as an Alternative
Clay plaster is worth considering where the wall is internal, sheltered and never wetted. It is more vapour open than lime and a considerably better humidity buffer, it cures by drying rather than by chemical set so there is no carbonation period to wait out, and it can be taken back and reworked long after installation.
Its limitation is water. Clay has no hydraulic set and will soften if it is repeatedly wetted, so it is not a bathroom or a splash-zone material and it should not be used where damp has not first been resolved. Used in the right room, it gives a depth of colour and a surface texture that lime cannot quite match, and it is the lowest-embodied-carbon finish we install.
What the Work Involves
Every job is different, but the sequence rarely is.
- Survey and diagnosis. Before anything is specified, the wall is assessed for moisture, salt contamination and the condition of the substrate. Plastering over an unresolved damp problem is the most expensive mistake available in this trade, because the new finish fails and the diagnosis still has to happen afterwards. Where damp is present, that work comes first.
- Removal. Failed plaster is taken back to sound masonry. On lath and plaster, the decision is whether the laths are sound enough to replaster or whether sections need replacing.
- Preparation. Joints are raked out where needed to give a key, the background is assessed for suction, and heavily contaminated masonry may need a salt poultice before anything is applied.
- Coats. Typically a base coat, a straightening coat and a finish, each allowed to cure before the next. Coats reduce in strength and thickness as they go outward, so the finish is never harder than what it sits on.
- Finish. Floated, sponged, polished or left with a light texture, depending on the room and the age of the building.
- Decoration. Limewash, distemper or a mineral paint. Not vinyl emulsion, which would undo the permeability the plaster was chosen for.
What We Keep
On an east London terrace we used two different build-ups in one bedroom, because the two wall types needed different answers. The external walls went back to brick and took a 40mm wood fibre system. The internal walls kept their original lime plaster: sound historic plaster has been moving with that wall for a century, it is already vapour open, and stripping it is both destructive and a waste of a functioning surface.
The skill is telling sound plaster from failed plaster and hacking off only what genuinely has to go.
Read the full case study, or why lime costs more than gypsum.
Scheduling a Whole House
On a single room the sequence above is the whole plan. On a whole house it is not, because a four-storey terrace will have original lath and plaster on some ceilings, sound historic plaster worth keeping on some walls, failed plaster on others, new partitions going in and two external walls being insulated. Describing that in prose produces a document nobody can price and nobody can build to.
So we type it. Every wall and ceiling in the building is given a letter, the letter carries a specified build-up, and the schedule then reads as a plan rather than a description.
| Type | Treatment |
|---|---|
| Wall A | Thermal plaster system on solid masonry |
| Wall B | Plaster on retained historic fabric, lime or a specified repair mortar |
| Wall C | Skim on new plasterboard |
| Wall D | Timber panelled or tiled finish |
| Wall E | Upholstered finish |
| Ceiling A | Historic plaster retained and restored |
| Ceiling B | Skim on plasterboard |
| Ceiling D | Timber panelled |
The value is not the letters, it is what typing forces. Every surface has to be looked at and decided on before anyone starts, which means the survey is real, the quantities are measurable in square metres per phase, and the question “what is happening to this wall?” has an answer on a drawing rather than a conversation on site three weeks in. It also makes the retained historic fabric explicit, which is the fabric most often lost by accident.
Where an architect is involved we work to their details and their revision numbers, and the type schedule is cross-referenced to them. The build-ups behind each type are published on the build-ups page.
Drying, Curing and Decoration
This is the part most often underestimated, and the part worth planning around.
Lime does not go off the way gypsum does. A non-hydraulic lime sets by carbonation, absorbing carbon dioxide from the air and converting slowly back to calcium carbonate. That process starts at the surface and works inwards, and it is governed by temperature, humidity and air movement rather than by the clock. A hydraulic lime sets partly through a chemical reaction with water and partly by carbonation, which makes it faster and more predictable but not instant.
Rough guidance, not a schedule
- Allow several days between coats rather than hours
- Expect a few weeks before a wall is ready for a permeable decoration
- Cold, still, damp conditions slow carbonation considerably; work in unheated rooms over winter needs longer
- Forcing drying with heaters causes shrinkage cracking and a weak surface, so it is counterproductive
- The wall will look patchy while it dries, lighter where it has carbonated, and this evens out
Where a manufactured system is specified, the published figures give something firmer to plan against. A cork and lime thermo-plaster such as Diathonite Evolution is quoted at 10 to 15 days to dry at 23°C and 50 per cent relative humidity, and that is a laboratory-friendly condition: greater thickness, lower temperature or higher humidity all extend it, sometimes considerably. The same datasheet limits application to between 5°C and 30°C, rules out relative humidity above 70 per cent, and caps a single pass at 40mm on walls and 20mm on ceilings. Those constraints are what a realistic programme is built from.
Aftercare in hot weather is the part most often skipped. Above roughly 28°C a fresh coat needs misting about every two hours to stop it shrinking and cracking, and for the first two or three days in dry or windy conditions two or three mistings a day is normal. Indoors we run air movers and ducting to give cross-ventilation, and on larger jobs forced-air ventilation is set up and left running when we leave site, because carbonation needs moving air and the wall does not stop needing it at five o’clock.
We give a realistic drying window at quotation stage, because a plastering programme that ignores it usually ends with a decorator arriving three weeks early.
Cracking, and What Is Normal
Fine cracking in new lime plaster is common, and in most cases it is shrinkage during drying rather than a defect. Breathable assemblies move: moisture contents rise and fall, temperatures cycle daily and seasonally, and drying happens unevenly across a wall. Some cracking is the expected consequence of a material behaving as intended.
That is not a licence to dismiss every crack. The significance depends on cause, location, extent, stability and whether it affects performance. Distinguishing harmless drying shrinkage from a moisture problem or genuine structural movement is a diagnostic skill, and we have written it up in full:
Technical reading
Why Breathable Walls Crack. Telling harmless drying shrinkage and seasonal movement apart from structural defects, with a risk-based framework for assessing what you are looking at.
Cost and Scope
Every job is priced on survey. What a specific job costs depends on the condition of the substrate, whether removal and salt treatment are needed, the number of coats, access, and the finish specified.
Related work we carry out on the same visit where it makes sense:
| Service | Typical context |
|---|---|
| Lime plastering | Solid walls, lath and plaster, behind breathable insulation |
| Clay plastering | Dry internal rooms where humidity buffering matters most |
| Limewash decorating | Permeable decoration over new or existing lime |
| Distemper decorating | Traditional soft distemper on historic interiors |
| Cornice repair | Running and casting to match existing profiles |
| Refurbishment mission plan | A strategy for the building, whether or not you use us |
We work across Greater London, with most projects in Hackney, Hackney Wick, Bow, Old Ford and the surrounding boroughs.
Next step
Get a quote, or call +44 7468 865983. If you are not ready for a quote, ask for a Refurbishment Mission Plan instead. It is free and gives you a strategy for the building whether you use us or not.
Common Questions
Why use lime plaster instead of gypsum on a period home?
Two arguments, covered in more depth above: moisture and movement. Gypsum under a modern paint seals the wall's only drying route, and a rigid finish concentrates movement into one crack instead of many small ones. There is a third, more practical reason too: lime asks more of the preparation and the finish, which is where the price difference actually comes from, and that is set out in full in Why Lime Costs More Than Gypsum.
How long does lime plaster take to dry before it can be decorated?
Long enough to plan around rather than assume. A manufactured system such as Diathonite Evolution is quoted at 10 to 15 days in a mild 23°C, 50 per cent humidity room, and that figure only gets longer in a cold, damp or unheated site over winter. That clock does not even start until several days after the last coat has gone on.
Is cracking in new lime plaster normal?
Usually. The rule of thumb: shrinkage cracking is fine, fairly uniform, confined to the finish layer, and appears in the first weeks or months rather than getting worse afterwards. A crack that keeps widening, follows a structural line, or lines up with a window or door reveal is the kind worth having looked at rather than left to settle. The full diagnostic framework is in Why Breathable Walls Crack.
Does existing plaster have to be stripped back to brick?
Not always, and it should not be an automatic decision either way. Sound historic plaster has already been moving with its wall for a century and is vapour open, so keeping it is usually the better outcome, not just the cheaper one. On a whole-house job we make that call wall by wall using the type schedule described further down this page, rather than deciding once for the whole building.
Further Reading
- Build-ups, the lime systems above specified layer by layer
- Hydraulic vs Non-Hydraulic Lime in Retrofit Projects
- Why Breathable Walls Crack
- Damp diagnosis and wall remediation, if the wall is wet before it is plastered
- Wood fibre insulation, where the wall is being upgraded thermally at the same time
- All technical white papers
Guidance on the repair of traditional buildings is published by Historic England, the Society for the Protection of Ancient Buildings and the Sustainable Traditional Buildings Alliance. Moisture management in buildings is covered by BS 5250. Our white papers carry full references.