
Why Lime Costs More Than Gypsum
Two reasons, and neither is the material itself. Preparation, and what everyone has been trained to think a finished wall looks like.
Before answering, we have to define what is meant by regular plastering.
When you as a customer want plastering done, the material you are usually thinking of is gypsum. Thistle MultiFinish is a popular example in the UK. The market gets complicated not from a material standpoint but from a product one, with many products competing for attention while doing much the same thing.
From our standpoint, regular should be defined by what your house was traditionally built with.
Many pre-1930s homes were built with various lime plasters. By various, we mean lime was the binder, the ingredient that sticks everything together, combined with different aggregates. In London, houses were predominantly built using ash mortar, which comprised non-hydraulic lime, sand, dirt and ash. That mix gave the plaster a feebly hydraulic set.
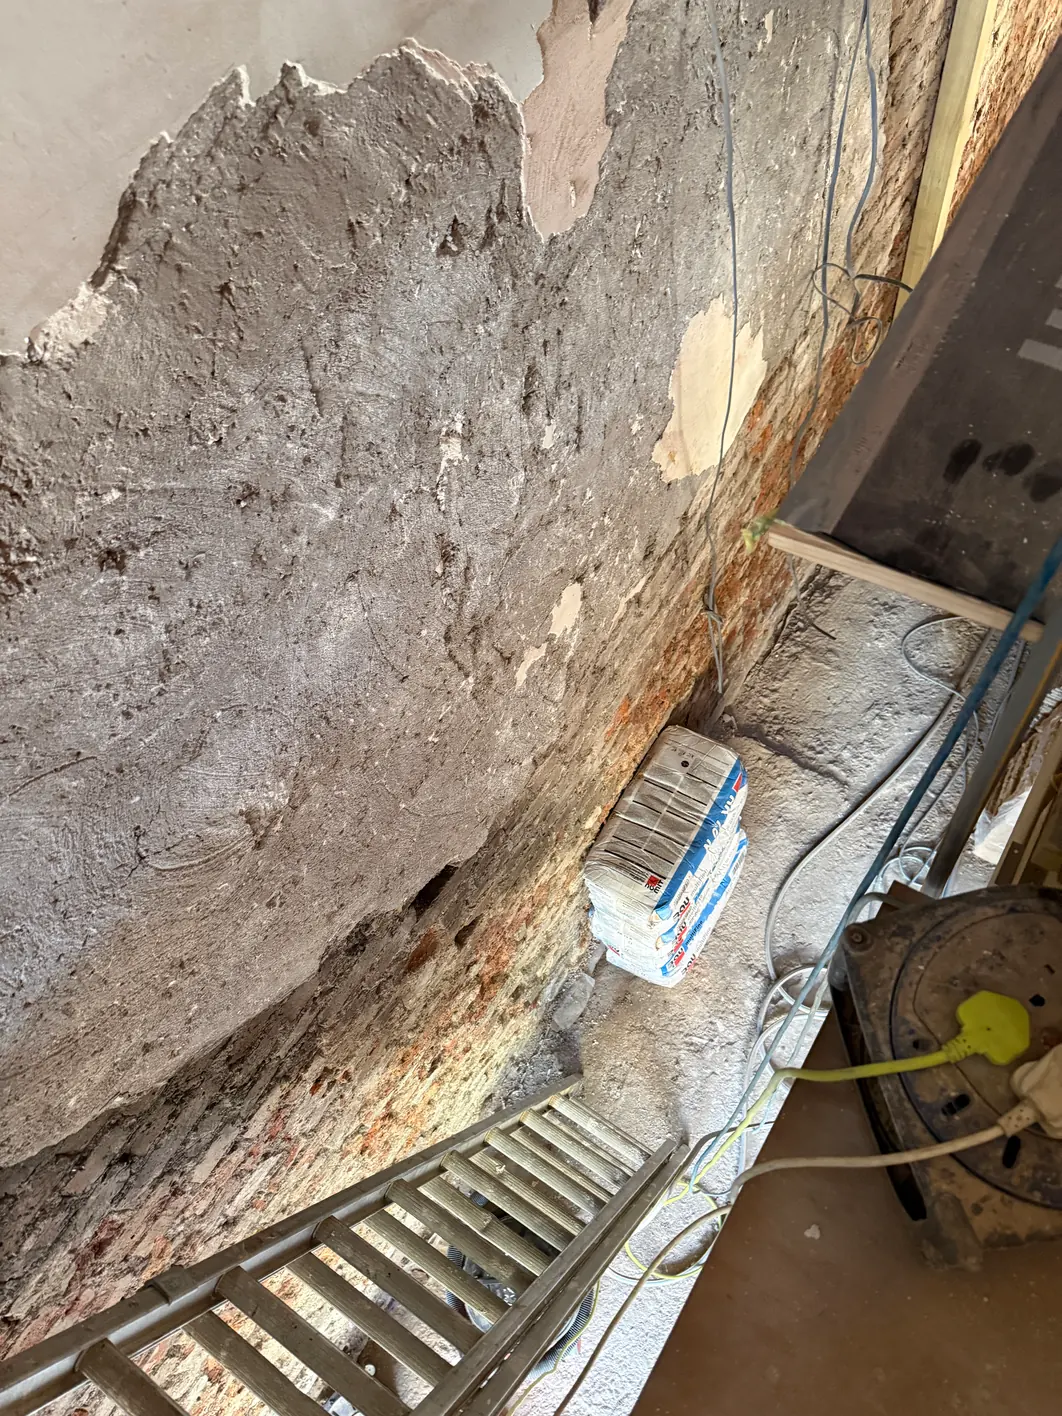
The Three Coats
In lime and traditional plastering, and really all plastering, there are three main coats.
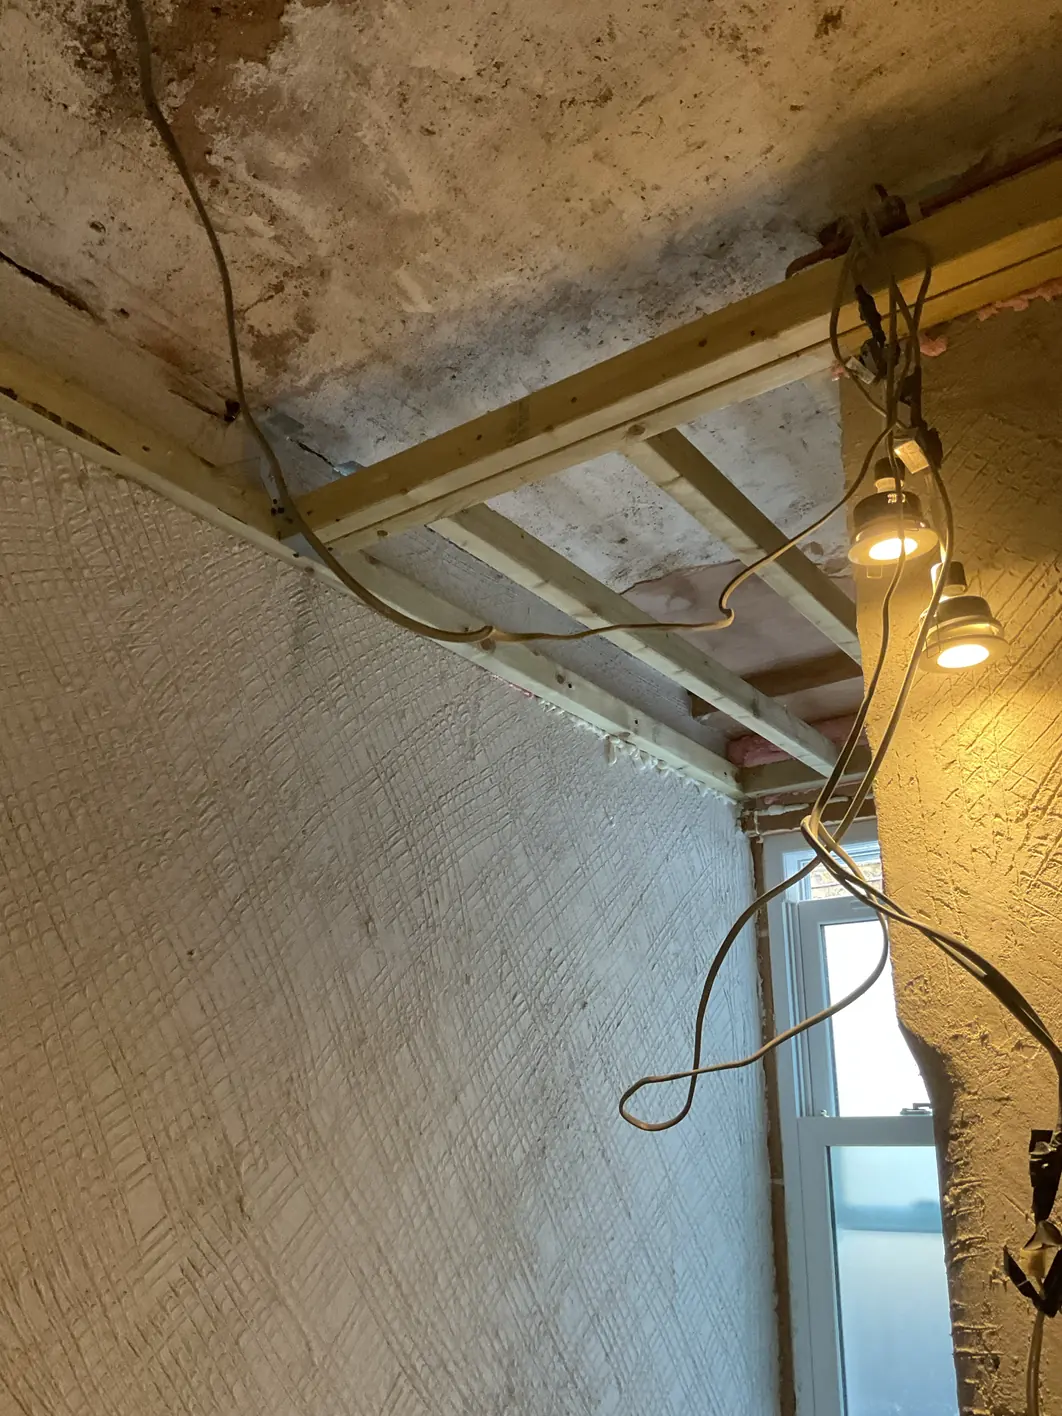
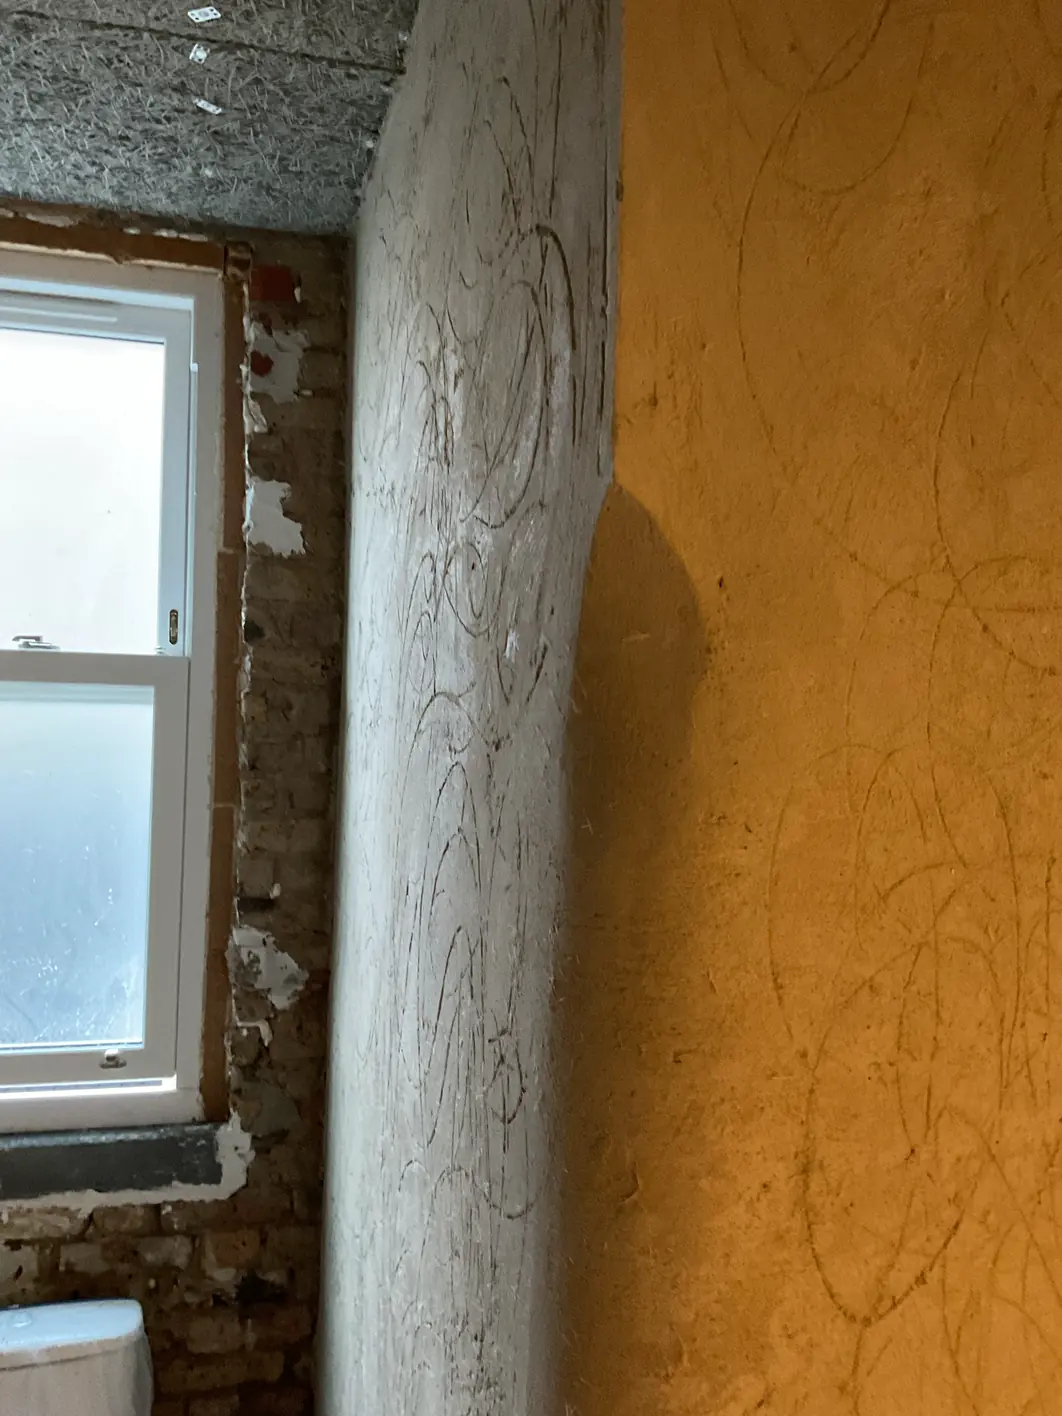
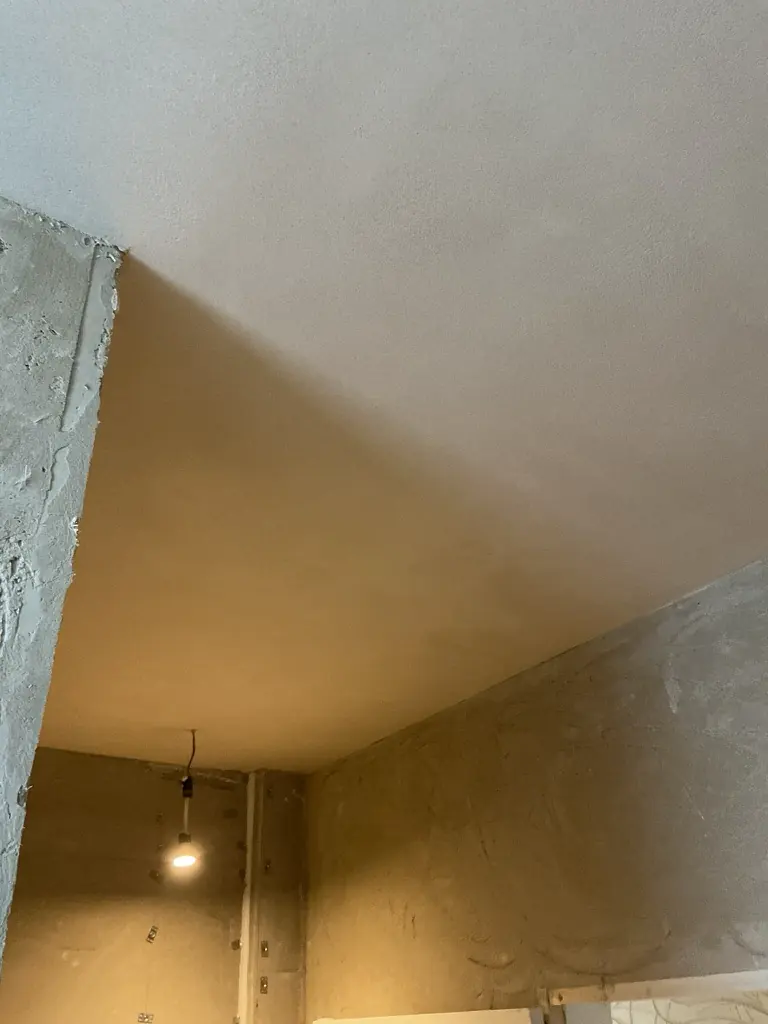
That is not an exact rule. Most period homes in London were plastered in two coats, using screeds to get the wall flat and level in one go before applying the top coat. There were caveats. In traditional two-coat systems the top coat could not be finished as finely, because it needed enough body to accommodate minor undulations, often around 3mm, so the finished surface naturally retained more texture. Chalk-based mixes reinforced with fibres could be applied more thickly, absorbing greater variation in the background while reducing the risk of cracking.
With that established, there are two primary reasons for the expense: preparation, and quality of finish.
Preparation
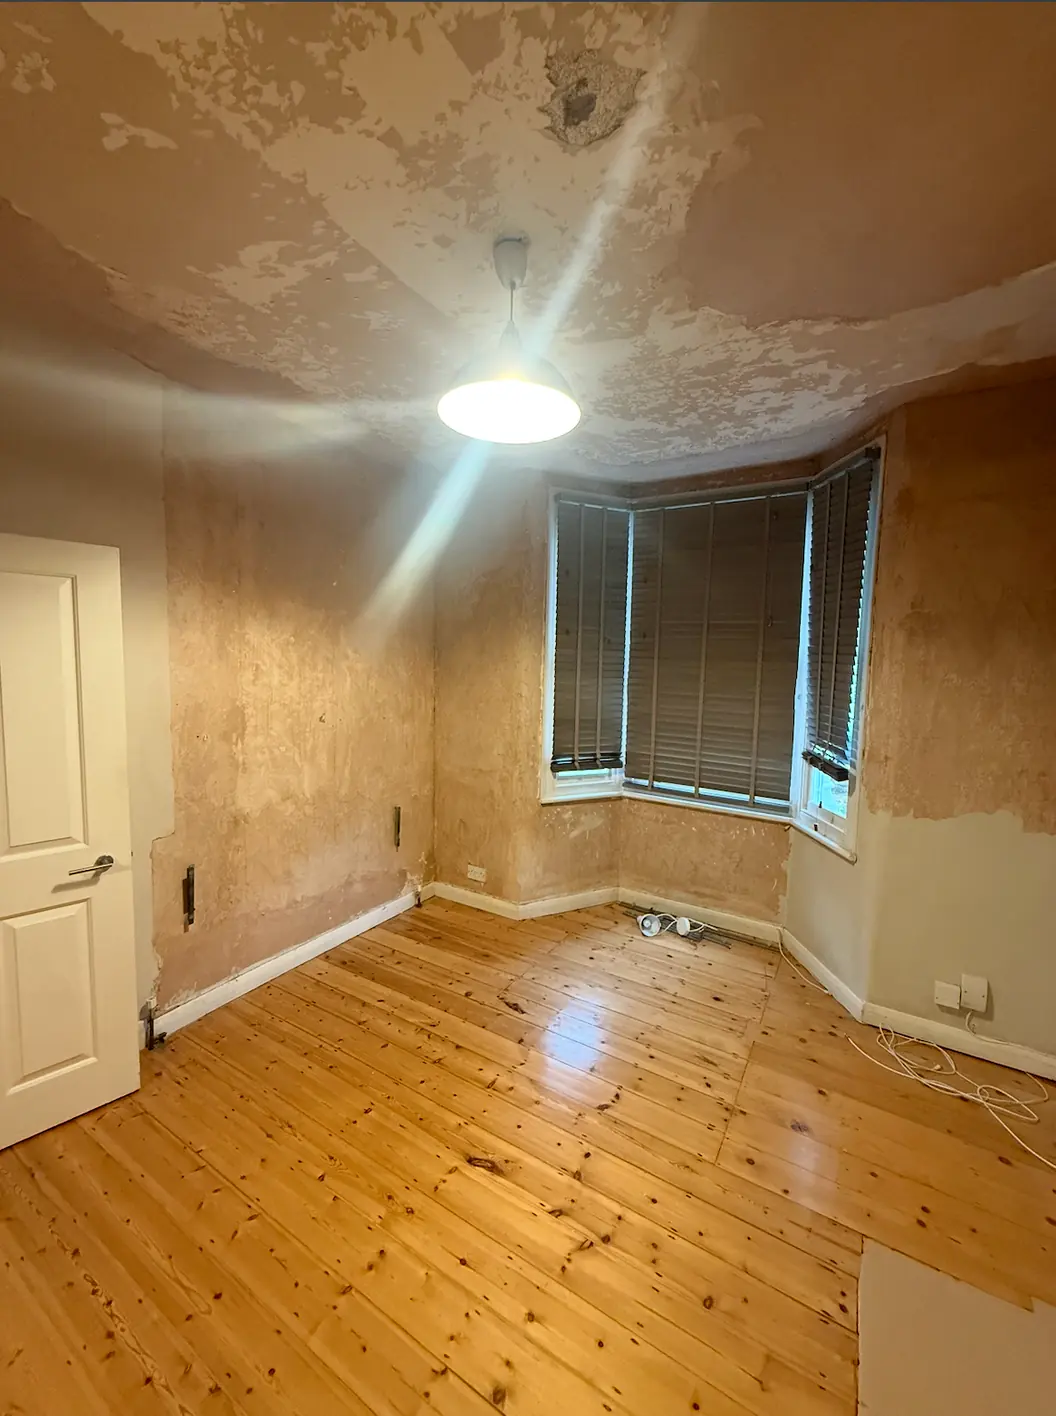
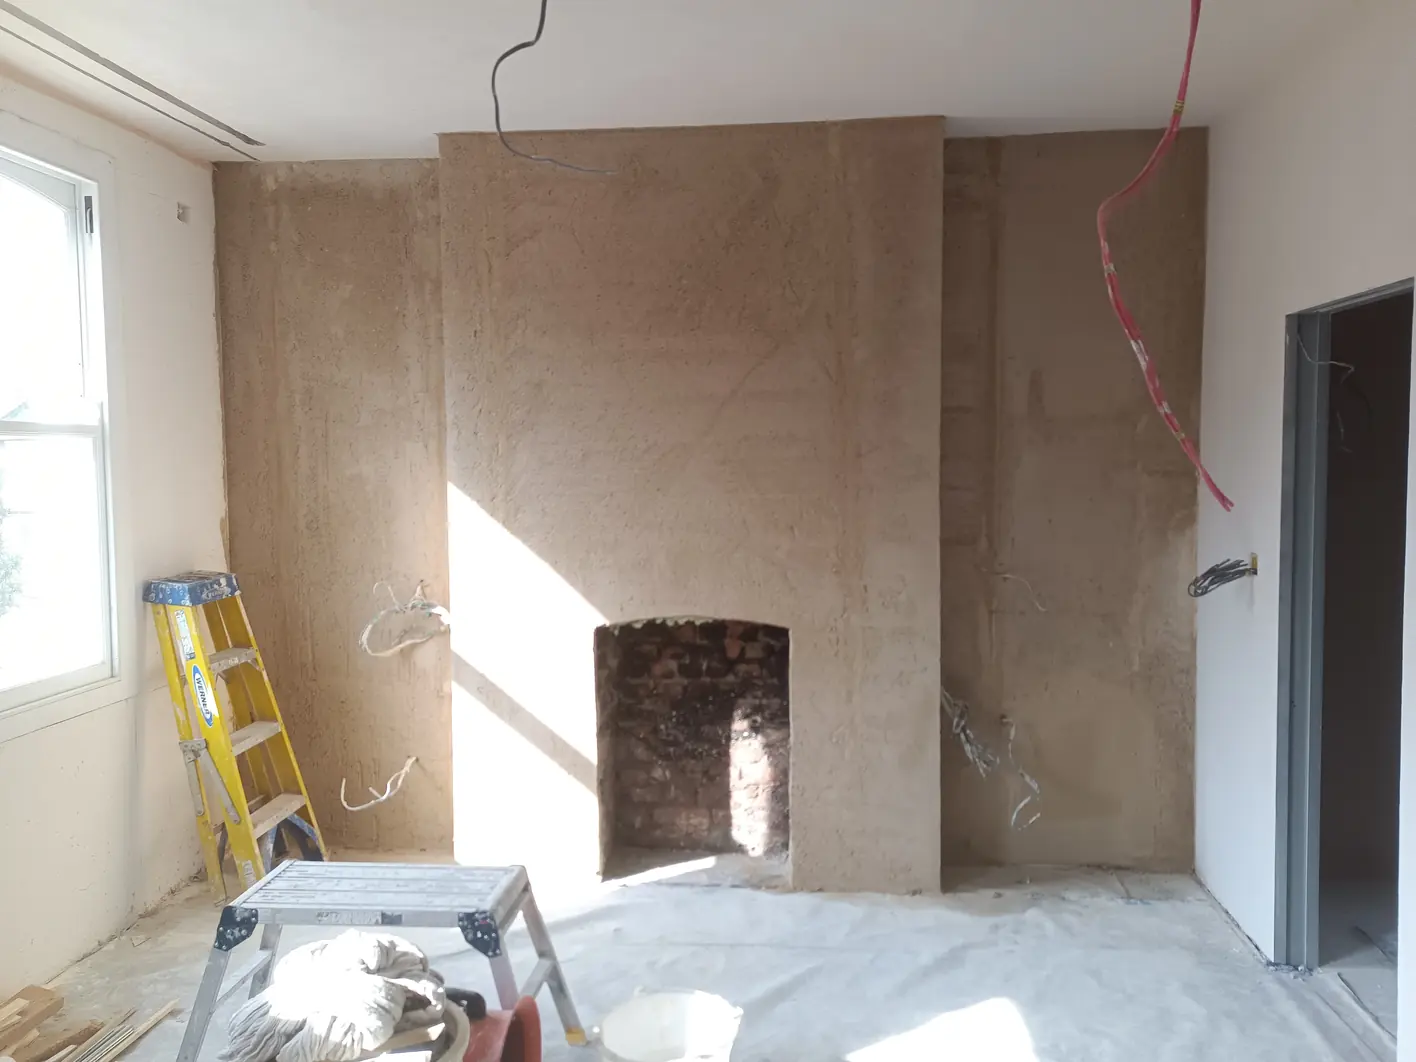
Over time, many layers are added to walls: gypsum skims, cement infills, various emulsion paints. These restrict moisture movement and are not always compatible with lime plaster. Some modern paints also contain higher levels of volatile organic compounds.
The added weight, stiffness and reduced breathability of gypsum and cement repairs can cause the original plaster to fail or delaminate from the wall.
You are then faced with two choices.
The Restoration Route
In favour: lower material costs and less base coat work. If you are comfortable retaining hollow-sounding sections that remain sound and secure, much more of the existing wall can be preserved. It is better for the environment. The case for preservation is stronger still if your home originally had a three-coat system.
Against: if you retain the original wall, patch repair it and then apply a top coat across the whole surface, differences in suction can distort the finish and stop it appearing flat. Potassium silicate primers greatly reduce that risk but add cost. And restoration is genuinely difficult: distinguishing gypsum, cement and original lime, and knowing what to remove and what to keep, takes experience. Lime is naturally soft, so it is often mistaken for being too crumbly. Original walls are frequently not flat after a century of movement, so a float coat may still be needed, which removes some of the saving.
Starting from Scratch
In favour: you get a true wall from the start. Sometimes it cannot be avoided, as where lower ground floor walls have been rendered entirely in sand and cement.
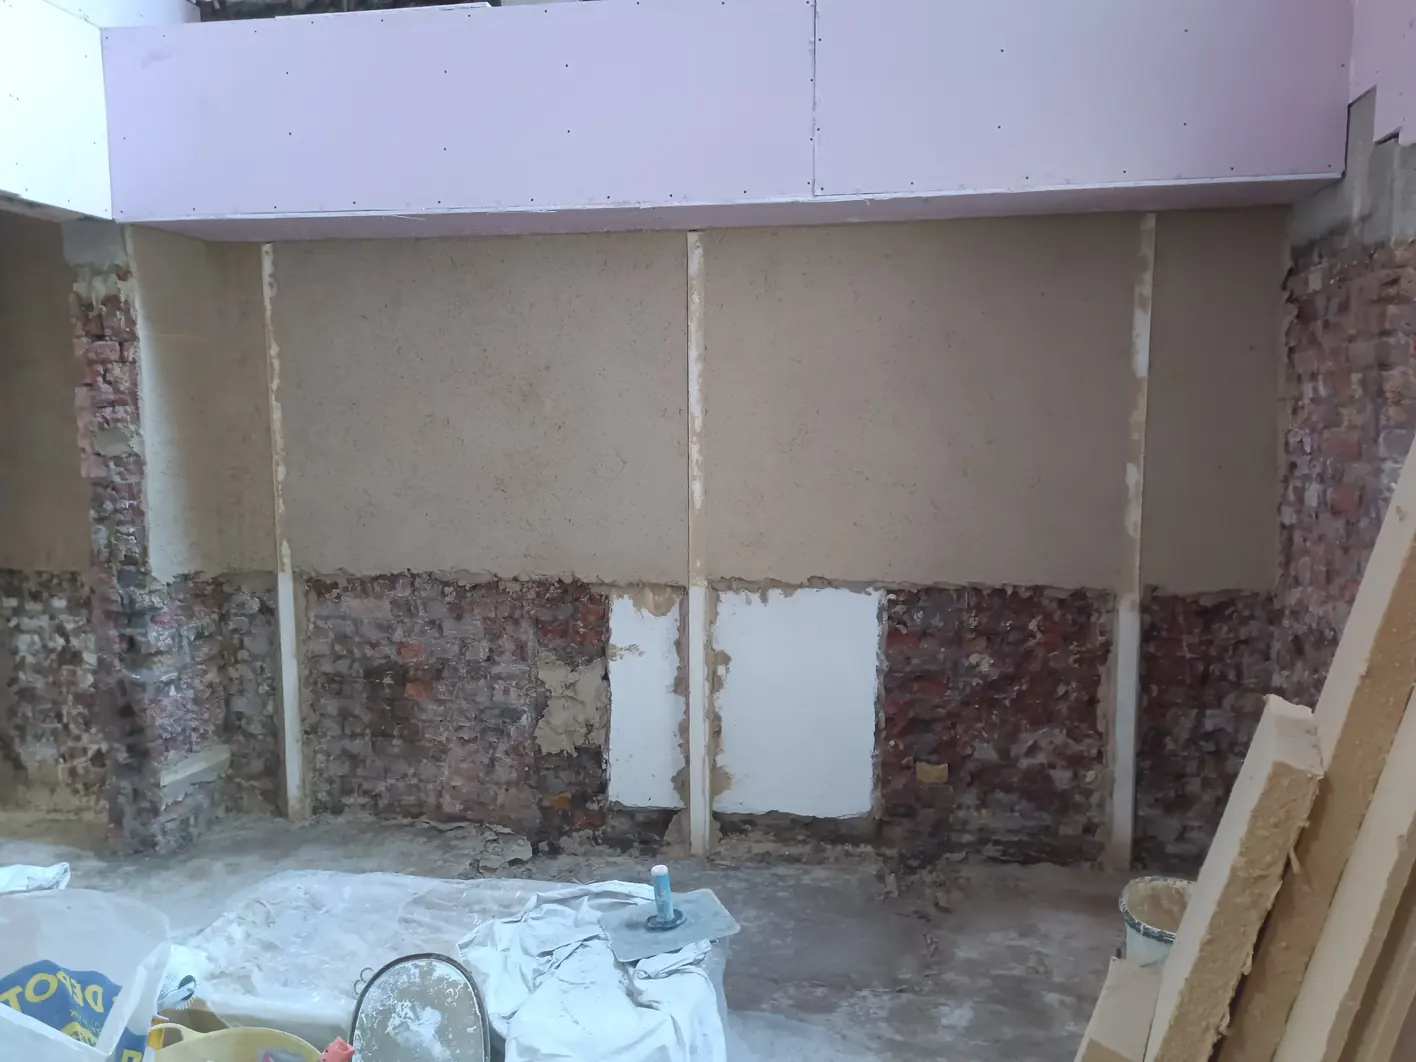
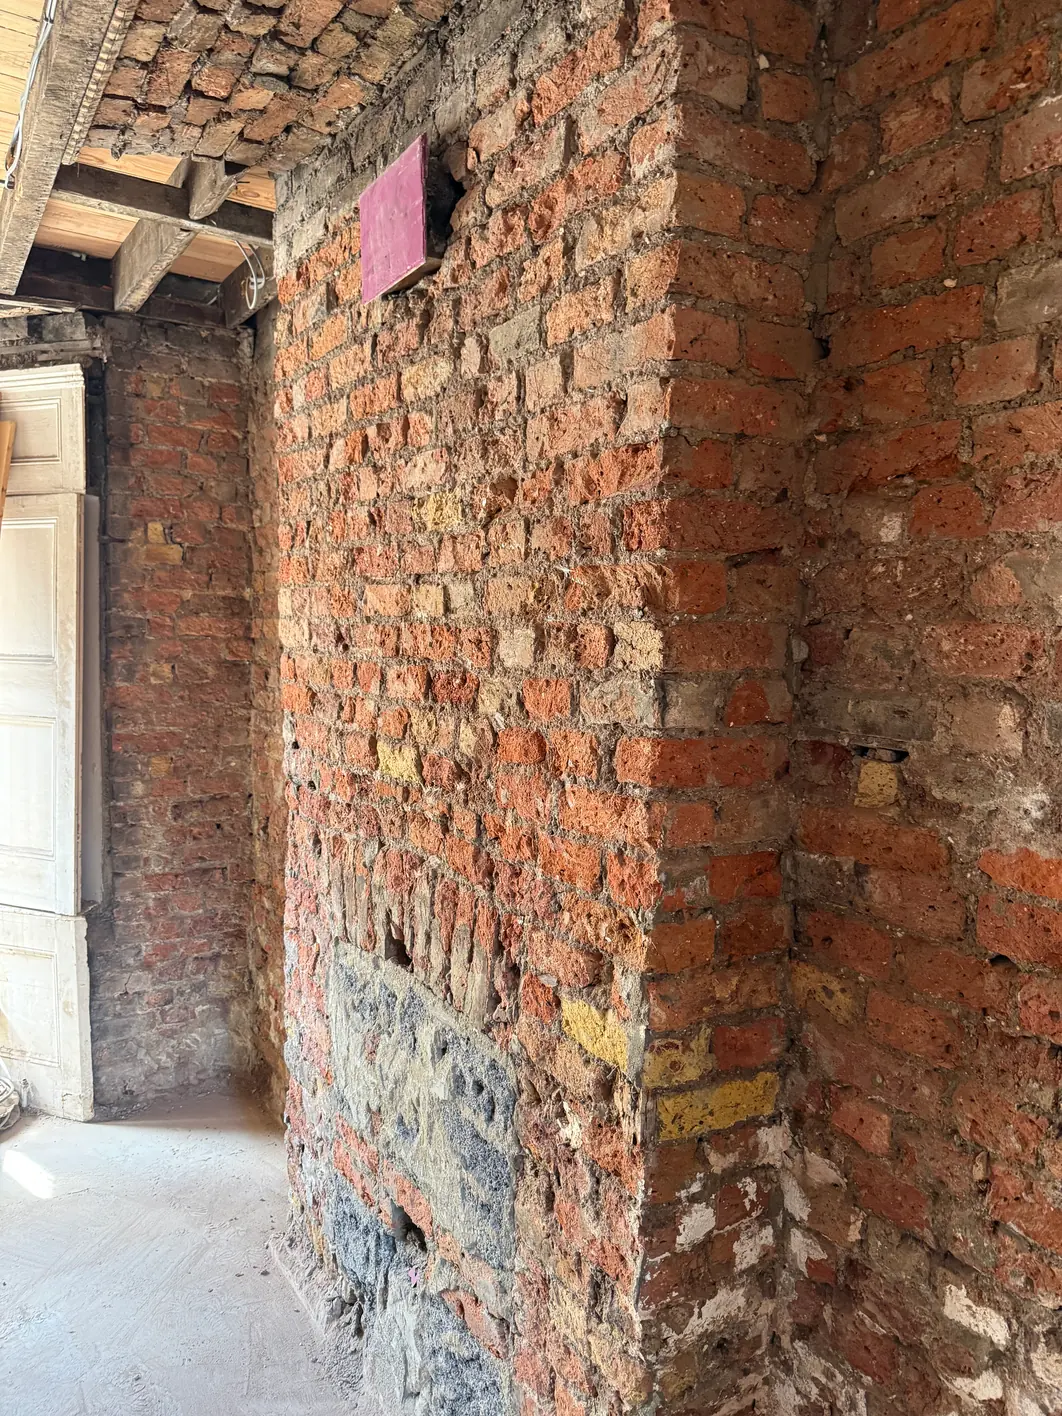
Against: more material, all of which has to be carried into the house. More labour to reinstate. A higher degree of skill to achieve a flat surface. And where only part of a wall is rebuilt rather than all of it, the result may still be significantly out of plumb.
Quality of Finish
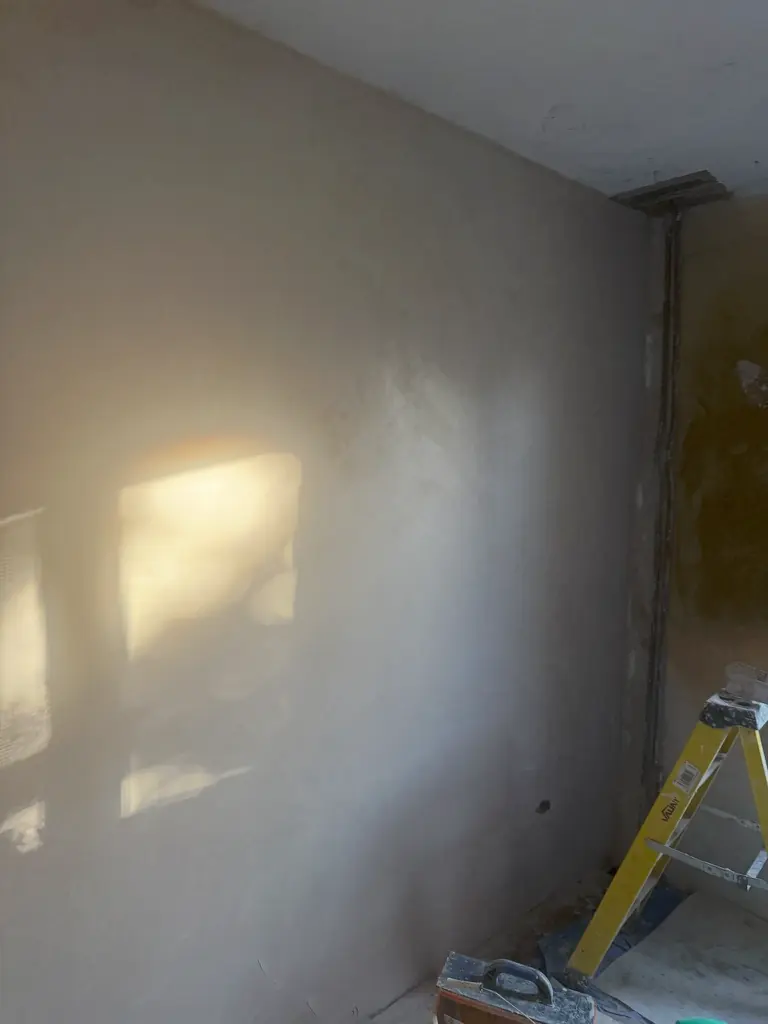
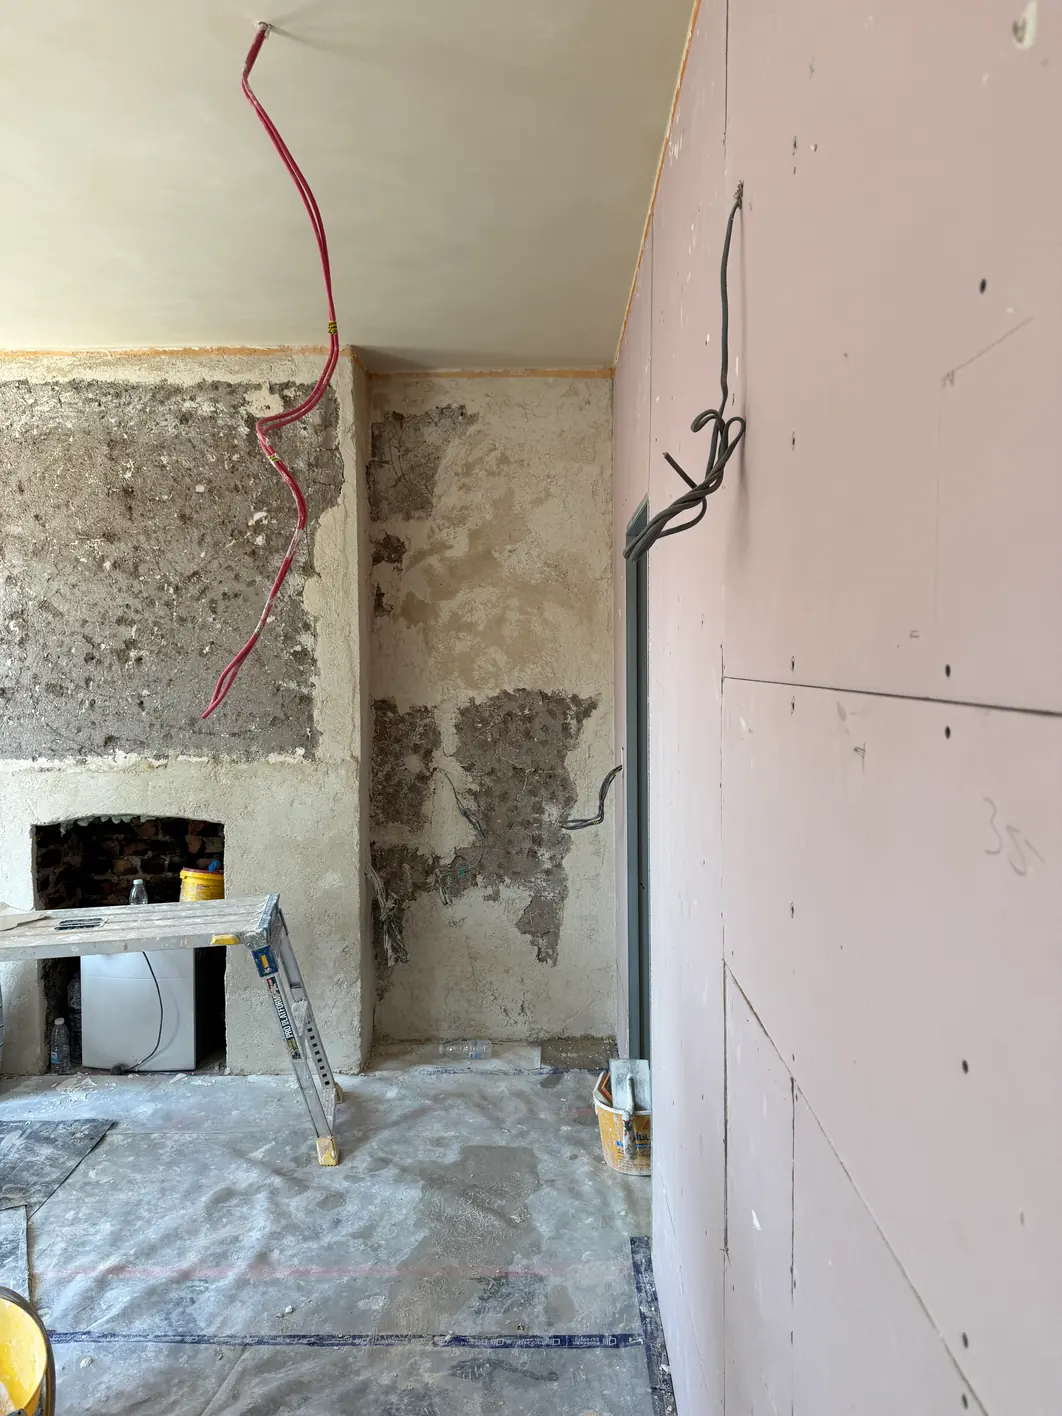
Gypsum MultiFinish has a very fine formulation with no coarse aggregate, so it is much easier to polish smooth. Its additives give it a predictable and relatively quick set. With regular gypsum plastering, the expected finish is smooth, and gypsum has become so mainstream that lime-plastered walls are often considered unfinished and assumed to need much more preparation before decorating.
Ultrafine lime plasters can achieve a finish comparable to gypsum, but they work differently. Gypsum can be applied at around 6mm; an ultra-smooth lime finish is often only around 2mm in total, commonly in two 1mm passes. These fine limes have very little body, so applying them too thickly can make an uneven wall look wavy and may lead to cracking. In practice that means a separate ultrafine finishing coat.
Mineral paints behave differently from modern emulsions. Many have more body and are applied in more substantial coats, working with the natural texture of lime or clay rather than demanding a perfectly polished substrate. A carefully sponged plaster finish can therefore give a consistent, attractive, paint-ready surface with considerably less labour.
The difficulty is often one of expectations. Decades of gypsum plastering have taught customers to see a perfectly smooth wall as the standard, when achieving that appearance in natural plaster is closer to a specialist Marmorino-style finish. It requires additional fine coats, greater skill and more time, so it should be understood as an upgrade rather than the baseline. If that distinction is not explained early, a healthy, breathable and consistent mineral wall may be mistaken for an unfinished one, and customers may pay significantly more, or revert to less breathable materials, simply because the intended finish was never clearly defined.
The Overarching Principle
Natural plastering is more than an application method. It is a whole-wall philosophy. For a lime or clay plasterer, every layer matters, from the underlying masonry and base coats to the primer, finish and paint. Incompatible or non-breathable materials cannot simply be covered over, because they may compromise moisture movement, durability and the indoor environment. Ideally the wall remains a coherent mineral system from substrate through to final decoration.
Conventional gypsum plastering is generally judged by a different priority: producing a flat, smooth appearance efficiently, often without considering the composition or long-term performance of the layers beneath. The distinction is therefore not purely aesthetic. Natural plastering considers how the entire wall will manage moisture, how it will age, and how it will contribute to a healthier home over time.
Related
Posts from real projects, and articles on the things clients actually ask about. Written by the people doing the work. Longer, referenced technical papers live under white papers. The assemblies themselves are on the build-ups page.