
Lime Rendering
Breathable external render for solid walls, specified to the exposure rather than to habit.
External render is the most demanding lime work there is. It takes the full weather, it has to shed water while remaining vapour open, and it has a narrow season in which it can be applied safely. Getting the binder wrong here does more damage than anywhere else on a building, because the material it damages is the brick or stone underneath.
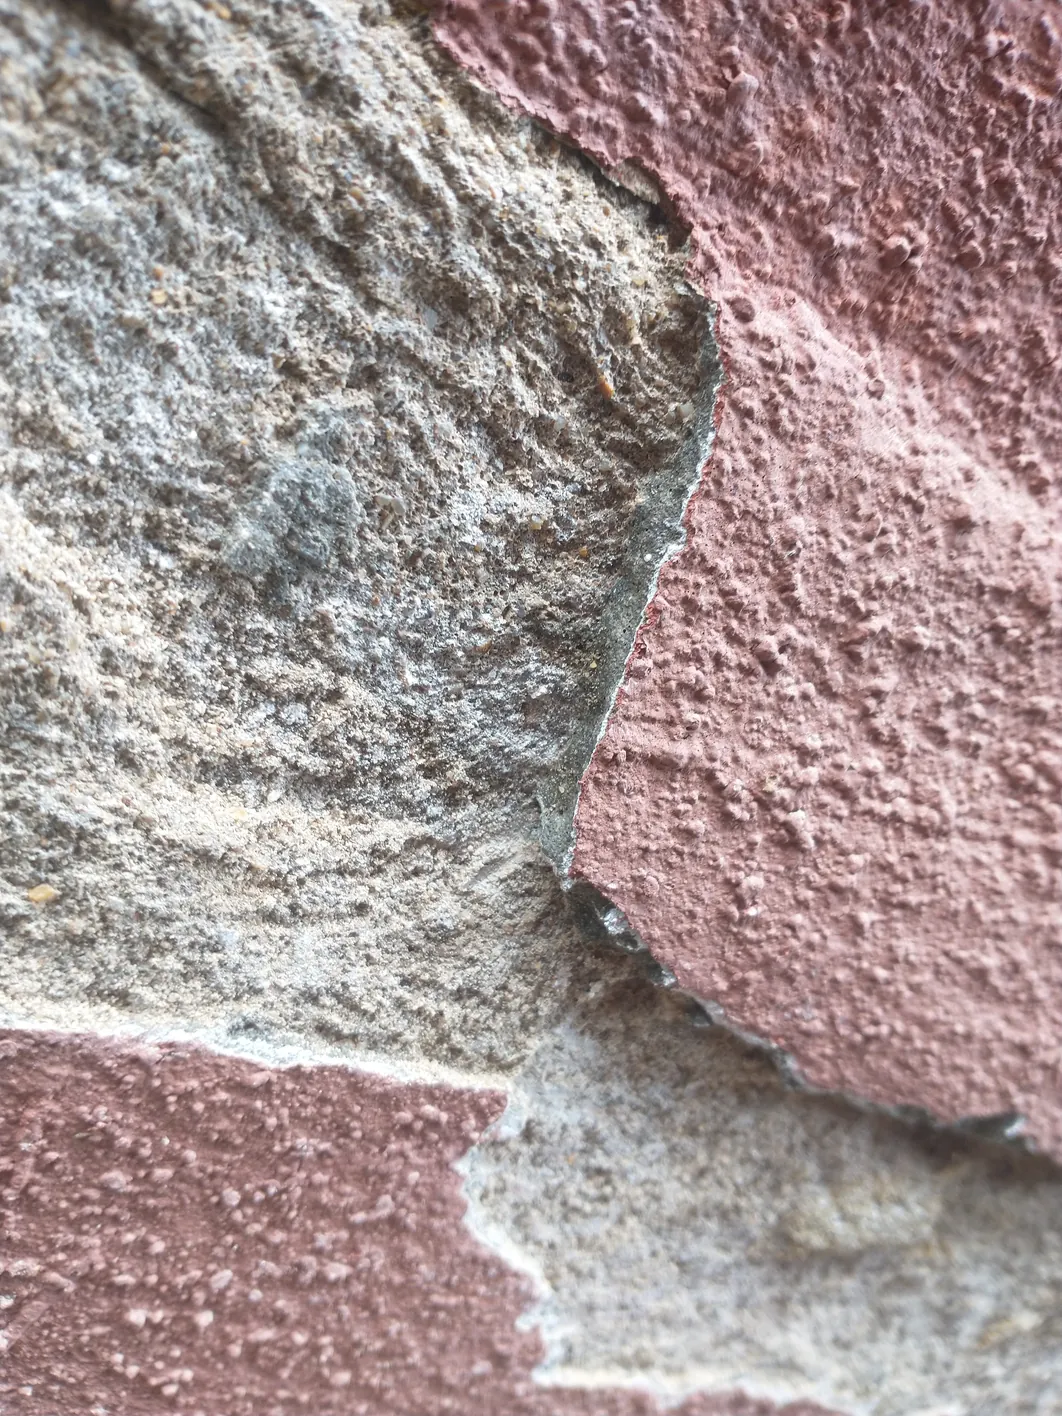
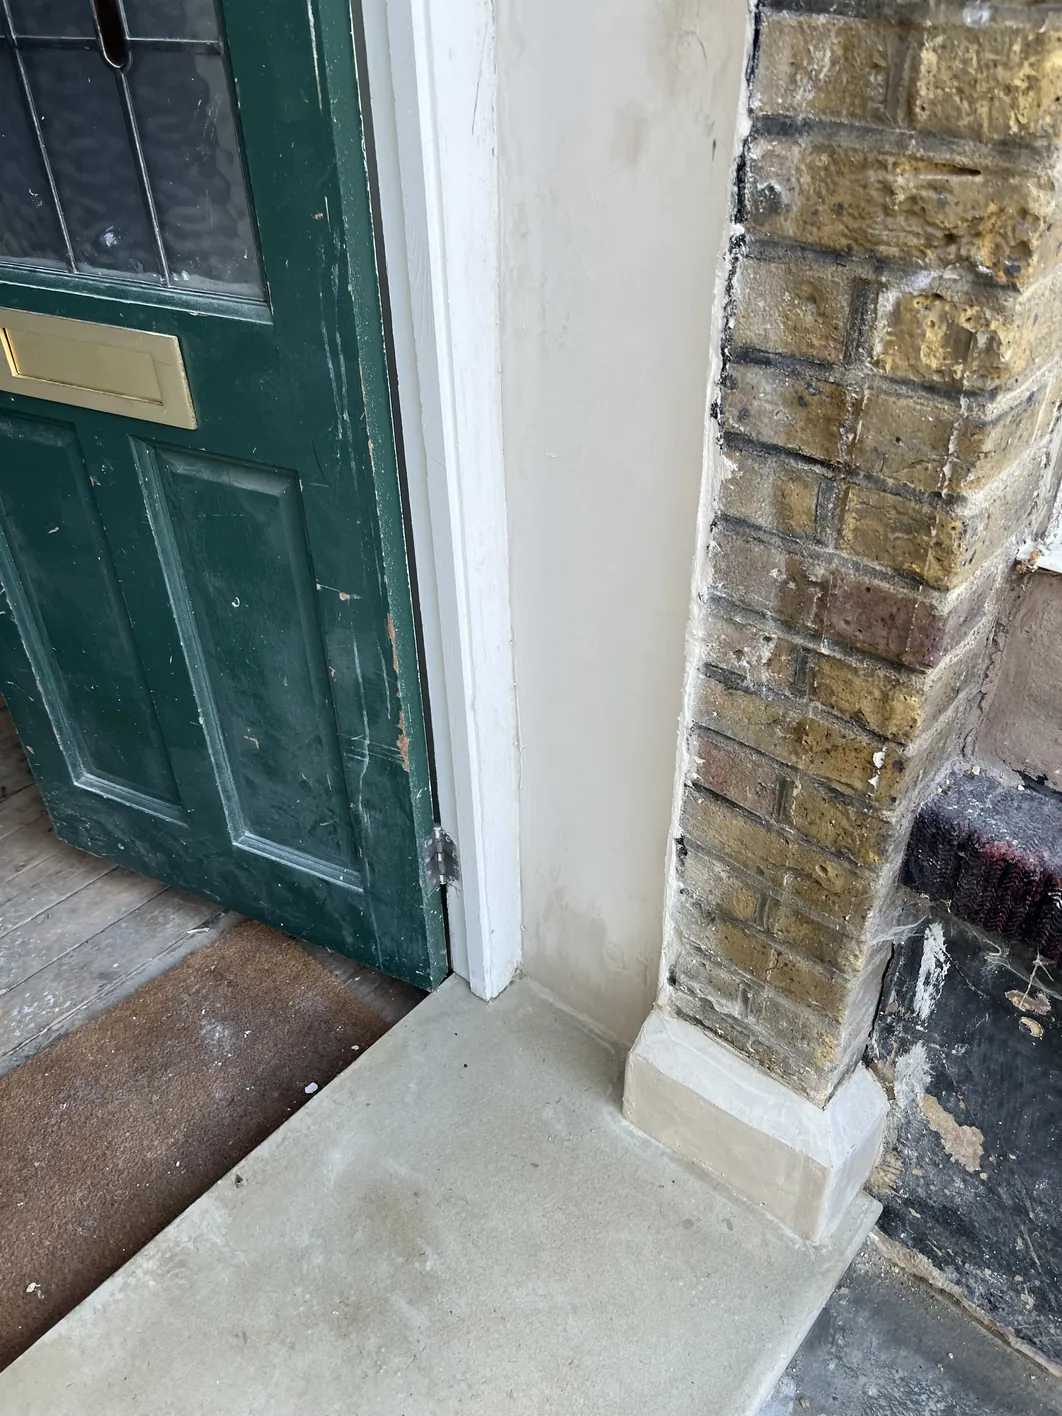
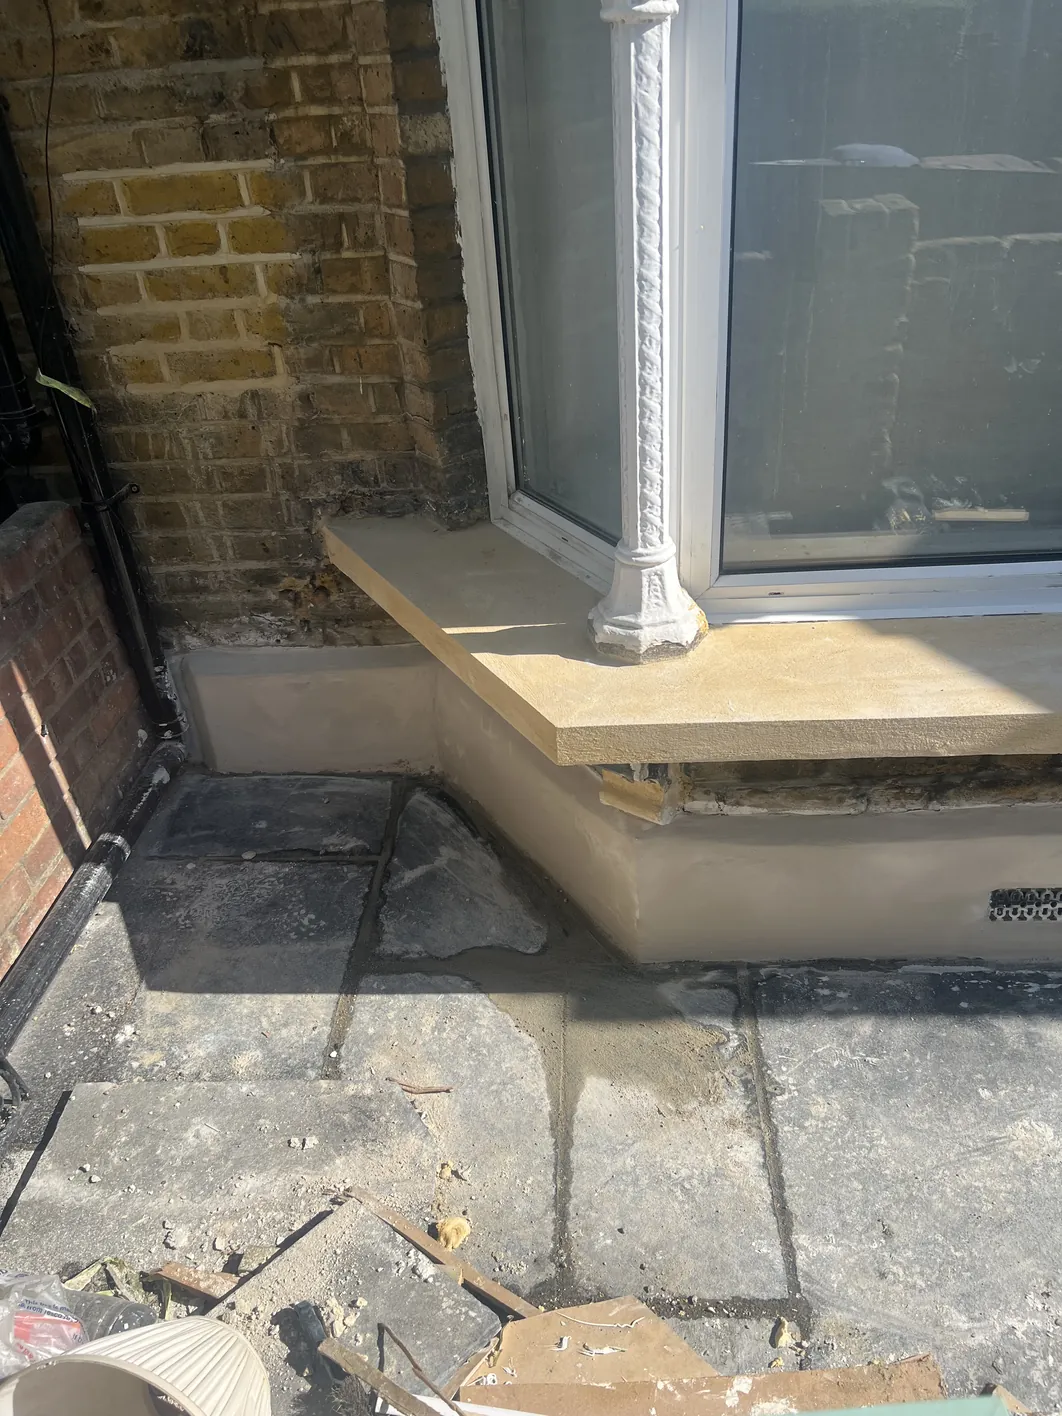
Three photographs from external render work, before and after.
Overview
A render coat on a solid wall has two jobs that pull against each other. It has to shed the majority of driving rain, and it has to let whatever moisture does get into the wall evaporate back out. Modern impermeable renders do the first job well and the second not at all, which on a cavity wall is acceptable and on a solid wall is not.
Lime render does both. It is not waterproof, and it is not meant to be. It slows water entry, holds some of it in its pore structure, and releases it back to the air when conditions allow. The wall stays within a moisture range it can tolerate rather than being sealed at whatever moisture content it happened to hold on the day the render went on.
It is also sacrificial by design. Lime render is weaker than the masonry it protects, so where something has to weather, decay or crack, it is the render rather than the wall. Render can be repaired. Spalled brick cannot.
Why Cement Render Fails on Old Walls
Cement render on soft Victorian stock brick or on rubble stone is one of the most damaging things done to British buildings in the twentieth century, and it is still being applied.
The mechanism
- Cement render is stronger and much less permeable than the masonry behind it
- It is also more brittle, so it cracks in response to the wall's normal seasonal movement
- Water enters through those cracks, and around openings and at the base, faster than it can evaporate back out through the render
- Moisture concentrates at the interface between render and masonry
- Soluble salts migrate to that interface and crystallise, forcing the render off the wall
- Water held in the outer face of the brick freezes, and the brick face spalls away
- The render is now both cracked and hollow, and the wall beneath it is in worse condition than before it was rendered
The tell-tale is usually sound rather than sight: tapping a cement-rendered elevation and hearing hollowness across large areas means the bond has already gone and water is moving freely behind it.
Removing failed cement render is a delicate job in itself. It is bonded harder than the brick, and careless removal takes brick faces with it. It is worth budgeting for properly rather than treating it as a stripping exercise.
Specifying the Render
Binder Choice and Exposure
External render is the case where a hydraulic set genuinely earns its place. A non-hydraulic lime putty render can be used externally in sheltered situations by an experienced hand, but it carbonates slowly and is vulnerable during the first winter. Most external work in London uses a natural hydraulic lime, and the question becomes which grade.
The temptation is always to go harder. A higher NHL grade sets faster, is less anxious in poor weather and feels more robust on the trowel. It is also less permeable, stronger and more brittle, and specifying it on a soft substrate reproduces the cement failure mode in slower motion.
The grade should be matched to exposure and to the strength of the background, not chosen for convenience. A sheltered London rear elevation in soft stock brick and an exposed gable taking driving rain are not the same specification. This is precisely the decision our binder paper was written to inform:
Technical reading
Hydraulic vs Non-Hydraulic Lime in Retrofit Projects. Carbonation versus hydraulic sets, NHL grades, hygrothermal and hygromechanical behaviour, and how over-specification damages historic masonry.
The Strength Gradient
The governing principle in all lime work, and the one most often broken, is that each layer should be no stronger than the one beneath it.
The masonry is the strongest element. The base coat is weaker than the masonry. The next coat is weaker again. The finish is weakest of all. Get that order right and stresses release harmlessly outward through the sacrificial layers. Get it inverted, with a hard finish over a soft base, and the assembly delaminates.
Coats and Build-Up
- Preparation. Old render removed, joints raked out to provide a key, defective bricks cut out and replaced, the background dampened down to control suction. Suction control matters more than any other single step: a dry, thirsty background pulls water out of the render before it can cure and produces a weak, dusty coat.
- Base coat. Pushed hard into the joints to key mechanically. Scratched to receive the next coat.
- Straightening coat. Brings the elevation to plane. Thickness kept sensible, since thick coats shrink more.
- Finish coat. Thin, weaker than what it sits on, worked to the chosen texture.
Each coat needs time and protection before the next. That is the fundamental difference from a cement programme, and it is why lime rendering cannot be compressed into a fortnight because a scaffold hire is running.
The Mixes and Systems We Use
“Lime render” covers a wide range of specifications that behave differently on the wall, so here is what we actually reach for and what governs the choice.
| Route | What it is | When it is the right one |
|---|---|---|
| Site-mixed NHL and sand | Natural hydraulic lime gauged with graded sand on site, mix designed for the substrate and the exposure | Historic fabric, and any wall where the render has to be weaker than what it sits on by a margin you choose rather than inherit |
| Site-mixed NHL with Trass and Mystolene | The above, gauged with a pozzolan for sulphate resistance and a plasticiser for water retention | Salt-loaded or high-suction backgrounds, typically as a rinzaffo key coat |
| Bagged NHL base render | A pre-blended dry mix such as Tector Base Render at NHL 3.5 | Larger areas where batch-to-batch consistency across a whole elevation matters more than a bespoke mix |
| Insulating thermo-plaster | Cork, lime and diatomaceous earth over an NHL 3.5 binder, spray or trowel applied | Where the render is also being asked to insulate, and where a monolithic layer avoids the joints a board system would bring |
Why the Insulating Route Is Worth Its Published Numbers
An insulating render is easy to oversell, so judge it on figures. Diathonite Evolution, the system we use most often in this role, is documented at a thermal conductivity of 0.045 W/m·K, giving roughly 0.222 m²K/W per 10mm of thickness. Its compressive strength is around 2.95 N/mm², which puts it in class CS II, and its adhesion to brick is specified at 0.10 N/mm² or better with cohesive failure in the mortar rather than at the interface. It is class A1 for reaction to fire.
The number that matters most on an old wall, though, is the vapour resistance factor of µ 4, combined with a porosity of about 71 per cent. That is a very open material. It is the reason a 40mm insulating coat can go onto solid masonry without setting up the trapped-moisture problem that a sealed system would, and it is the number to ask any supplier for when a render is described only as breathable.
Practical Limits That Shape the Programme
- Thickness per pass. 40mm maximum on walls, 20mm on ceilings and soffits, with a 40mm total on ceilings and mesh mandatory there.
- Mesh. Required from 60mm total thickness, and always over panels, timber, plasterboard and any substrate expected to move. At structural beams and columns it runs at least 150mm onto both sides.
- Recoat window. The previous coat needs to be firm to the touch and visibly lighter, typically 12 to 24 hours, and dampened again before the next goes on.
- Application conditions. Between 5°C and 30°C, and not above 70 per cent relative humidity. Corner beads bedded in the render itself rather than in cement, so the bead does not become a thermal bridge.
- Do not over-compress. Ruling off is to bring the coat to plane, not to polish it. Closing the pores defeats the material.
Full layer-by-layer assemblies, including where these renders sit in a complete build-up, are on the build-ups page.
The Gates We Will Not Pass
On a south London commercial elevation we wrote down four conditions and would not start the render until all four were true: lintels installed and inspected, masonry stable and not shedding, all beads and profiles on site, and an acceptable weather window.
A render applied over unstable masonry looks correct on handover and fails within a season or two, and by then nobody can tell whether the render or the wall was at fault. Holding the start date is cheaper than that argument.
Finishes and Decoration
Texture is a specification decision as much as an aesthetic one. A floated finish reads flat and even and suits most London terraces. A wood-floated or sponged finish gives an open texture that dries fast. A thrown finish, harling, is exceptionally durable in exposed positions because it sheds water without relying on a smooth plane.
Decoration must be at least as permeable as the render. Limewash is the traditional and best-matched option: it bonds chemically with the lime beneath, it is repairable, and it weathers rather than peels. Mineral and silicate paints are a reasonable alternative where a specific colour or a longer maintenance interval is wanted.
Masonry paint is not an alternative. A plastic film over a lime render defeats the entire specification, and once it is on, removing it without damaging the render is difficult.
We carry out limewash and distemper decorating as well, so render and decoration can be handled as one programme rather than handed over mid-cure to a decorator who may not know the constraints.
Season, Weather and Curing
Lime render has a working season, and pretending otherwise is how failures are built in.
The constraints
- Frost is the main risk. Green lime render damaged by frost has no strength and has to come off. There is no remedial treatment.
- The practical London season runs roughly from spring to early autumn. Late-season work needs protection and a hard look at the forecast.
- Direct sun and wind are the other extreme, drying the render before it can cure and causing shrinkage cracking. Elevations in full summer sun need damping and shading.
- Scaffold sheeting is not optional. It moderates both, and it stays up through the curing period, not just the application.
- Curing is measured in weeks. Carbonation continues long after the surface looks finished.
Manufactured systems put numbers on this. An insulating lime render is quoted at 10 to 15 days to dry at 23°C and 50 per cent relative humidity, which is a mild indoor condition rather than a London elevation in October, and thickness, cold or damp all extend it. In hot or windy weather the opposite problem applies and the surface has to be misted, two or three times a day for the first two or three days, and roughly every two hours once the temperature is above 28°C, or it shrinks and cracks.
That aftercare is a real line in the programme, not a courtesy. On our own jobs it means someone returning to the scaffold specifically to wet a wall that looks finished, and it means air movers and ducting left running on internal work when we leave site.
We will decline to start an external render in the wrong conditions. It is a short conversation that avoids a long problem.
Cracking and Maintenance
Fine shrinkage cracking in the first months is normal, and much of it closes as carbonation proceeds. Lime's limited self-healing capacity is real and is one of the practical arguments for the material.
What matters is distinguishing that from cracking that indicates a problem: cracks tracking a structural line, cracks that open and close seasonally at a widening rate, cracks concentrated at a junction where water is getting in. The diagnostic framework is set out in full in our crack paper.
Lime render is a maintained surface rather than a fit-and-forget one. An annual look at the elevation, particularly around openings, at the base and where rainwater goods discharge, catches almost everything early. Limewash is refreshed periodically rather than stripped, which is a considerably cheaper maintenance cycle than repainting a failing masonry paint.
Technical reading
Why Breathable Walls Crack. Performance categories, crack manifestations and a risk-based framework for deciding what needs intervention and what needs monitoring.
Cost and Scope
External render is priced on survey. The variables are elevation area, access and scaffold, whether failed cement render has to come off, the condition of the masonry underneath, the number of coats and the finish specified. Removal of existing cement render is frequently a significant share of the total and is worth establishing early.
| Related service | Typical context |
|---|---|
| Lime rendering | External elevations on solid-wall buildings |
| Limewash decorating | Permeable decoration over new or existing lime render |
| Brickwork cleaning | Where render is being removed to expose brick instead |
| Lime plastering | Internal finishes on the same building |
| Refurbishment mission plan | A strategy for the building, whether or not you use us |
Removing cement render does not always mean re-rendering. On a building whose brickwork was never intended to be covered, cleaning and repointing the exposed face is often the better outcome, and usually the cheaper one. We will say so if that is what the elevation wants.
Next step
Get a quote, or call +44 7468 865983.
Common Questions
Why does cement render fail on an old solid wall?
The giveaway is often sound rather than sight: tapping a cement-rendered wall and hearing hollowness across a large area means the bond has already failed and water is moving freely behind it, often before any cracking is visible. The mechanism, in short: cement is far less permeable than the masonry it is protecting, so moisture concentrates at the interface and eventually spalls the brick face, which cannot be undone.
Which grade of natural hydraulic lime should be specified?
There is no single right grade. It is set by exposure and the strength of the substrate together, never picked for convenience. A sheltered rear elevation in soft stock brick and an exposed gable taking driving rain are different specifications on the same street. The chemistry behind why a harder grade can damage a soft wall is set out in our binder paper.
Can lime render be applied at any time of year?
No, and the risk runs both ways. Frost on green render has no remedial fix, it simply has to come off; at the other extreme, direct sun and wind dry it too fast and cause shrinkage cracking. In London that leaves roughly spring to early autumn as the working season, with scaffold sheeting up through the whole cure rather than just the application.
Further Reading
- Build-ups, the specified assemblies and the materials named in full
- Hydraulic vs Non-Hydraulic Lime in Retrofit Projects
- Why Breathable Walls Crack
- Brickwork restoration, the alternative to re-rendering
- Wall remediation, where the render is the source of a damp problem
- Lime plastering, for internal work
- All technical white papers
Guidance on lime render and the repair of traditional buildings is published by Historic England, the Society for the Protection of Ancient Buildings and the Building Limes Forum. Our white papers carry full references.